Blog
A3 DTF Oven Setup & Use Guide

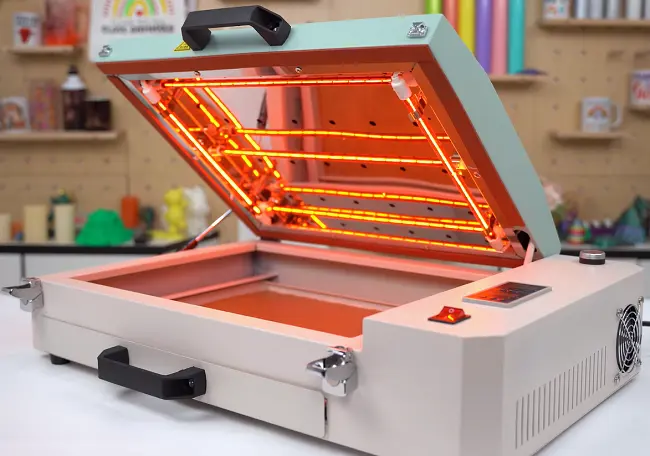
A DTF oven is a key piece of equipment in the Direct-to-Film printing workflow. Proper setup and operation directly affect powder curing quality, transfer adhesion, and final print durability. With the right configuration, your oven will deliver consistent, high-speed, and professional results. This guide walks through the features, setup process, and operation steps for an A3 DTF oven, helping you get started quickly and safely.
Key Features of the A3 DTF Oven
High-Speed Heating with 5 Lamps
Equipped with five heating lamps, this oven ensures rapid temperature rise and efficient curing, reducing production time and increasing output.
Even Heating Structure
With one lamp on each side, heat is distributed evenly across the chamber. This guarantees uniform powder melting, preventing under-curing or overheating.
Digital Temperature Control Box
The digital control system allows precise adjustment of both temperature and baking time, ensuring stable and repeatable curing results.
Easy Adjustment Controls
Temperature and time can be adjusted using simple “+” and “–” buttons, making operation intuitive even for beginners.
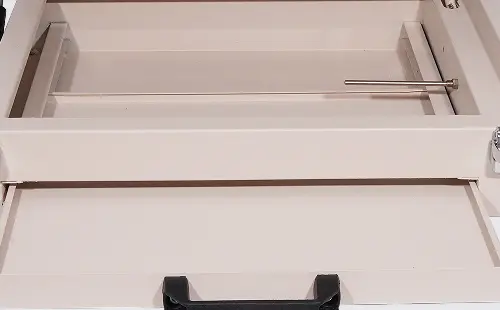
43 × 38 cm Pull-Out Tray
The sliding drawer design makes it easy to place and remove PET film, improving workflow efficiency and reducing handling errors.
Metal Safety Clips & Insulated Handles
- Metal clips secure the oven firmly during operation
- Plastic insulated handles protect users from heat, ensuring safe handling
Beeping Timer Alert System
Once the set temperature and baking time are reached, the oven emits a clear beep, allowing operators to monitor the process without constant supervision.
Top Ventilation with Filter
A built-in top vent with filter minimizes fumes and improves air quality, creating a safer and more comfortable working environment.
How to Setup A3 DTF Oven
Step 1: Position the Oven
Place the oven on a stable, heat-resistant surface in a well-ventilated area. Ensure there is enough space around the unit for airflow.
Step 2: Check Power Connection
Connect the oven to a reliable power source that matches the machine’s voltage requirements. Avoid shared outlets with high-power equipment.
Step 3: Inspect Components
Before first use, confirm:
- Heating lamps are properly installed
- Tray slides smoothly
- Vent filter is correctly positioned
Step 4: Power On the Machine
Turn on the main switch. The digital control panel will light up, indicating the system is ready.
Step 5: Set Temperature and Time
Use the “+” and “–” buttons to configure:
- Temperature: typically 120–140℃ (depending on powder type)
- Time: usually 200–240 seconds
These settings may vary based on powder thickness and film type.
Step-by-Step Operation Guide
1. Print Image on PET Film
Start by printing your design onto PET film using a DTF printer.
2. Apply Adhesive Powder
Evenly apply hot melt powder over the printed design. Shake off excess powder to ensure a clean finish.
3. Preheat the Oven
Turn on the oven and wait until the temperature reaches the set value.
4. Place the Film in the Oven
Slide out the tray, place the PET film flat, and push the tray back in carefully.
5. Start the Timer
Press the timer button to begin curing. The oven will maintain the set temperature.
6. Monitor the Curing Process
The powder will gradually melt and bond with the ink layer. Avoid opening the oven during this stage.
7. Listen for the Beep
When the set time is reached, the beeping timer will alert you.
8. Remove the Film
Carefully pull out the tray using the insulated handle. Allow the film to cool slightly.
9. Heat Press the Design
Transfer the cured design onto fabric using a heat press machine with proper settings.
Tips for Best Results
- Maintain consistent temperature to avoid uneven curing
- Do not overload the tray—keep films flat and spaced properly
- Clean the oven regularly to prevent powder residue buildup
- Check ventilation filter to ensure proper airflow
- Test settings when using new powder or film types
Common Setup Mistakes to Avoid
- Setting temperature too low, leading to incomplete powder melting
- Overheating, which can cause yellowing or brittleness
- Uneven film placement, resulting in inconsistent curing
- Ignoring ventilation, which may affect safety
Setting up and operating an A3 DTF oven is straightforward when each step is followed carefully. With precise temperature control, even heating, and user-friendly operation, this equipment provides a reliable solution for high-quality DTF production.
Related:
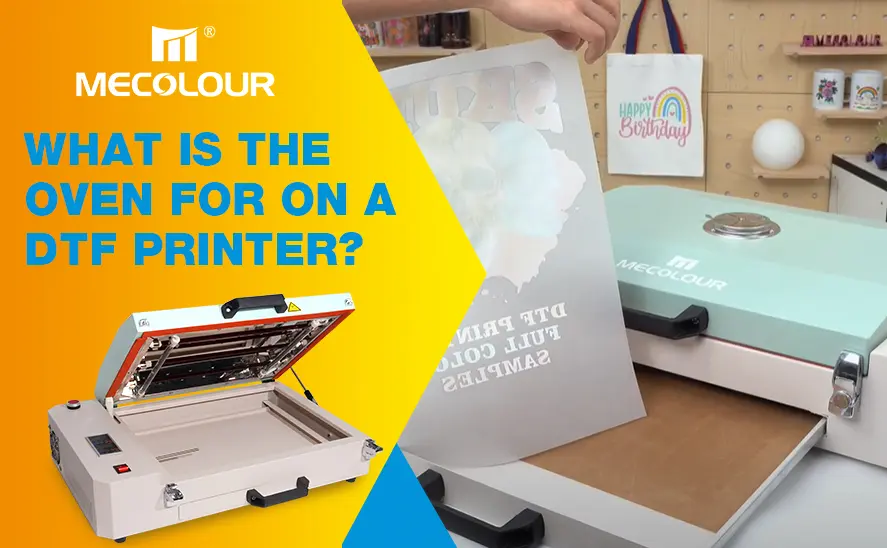
What Is a DTF Oven For?
Best DTF Ovens for Beginners: Simple and Affordable Picks