Blog
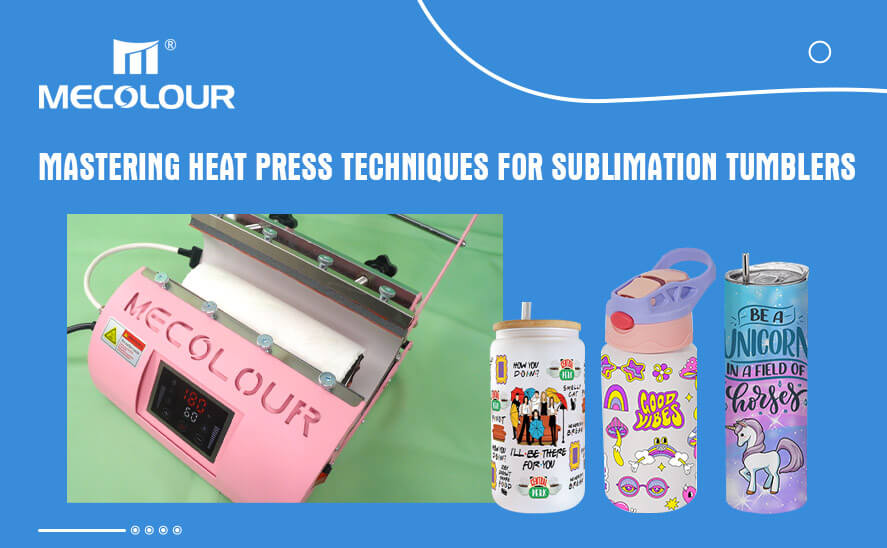
Mastering Heat Press Techniques for Sublimation Tumblers
Related Posts

How to Choose the Right Combo Heat Press for Small Business
Among the most versatile tools available today, a combo heat press for small business stands out as an excellent investment. Designed t...
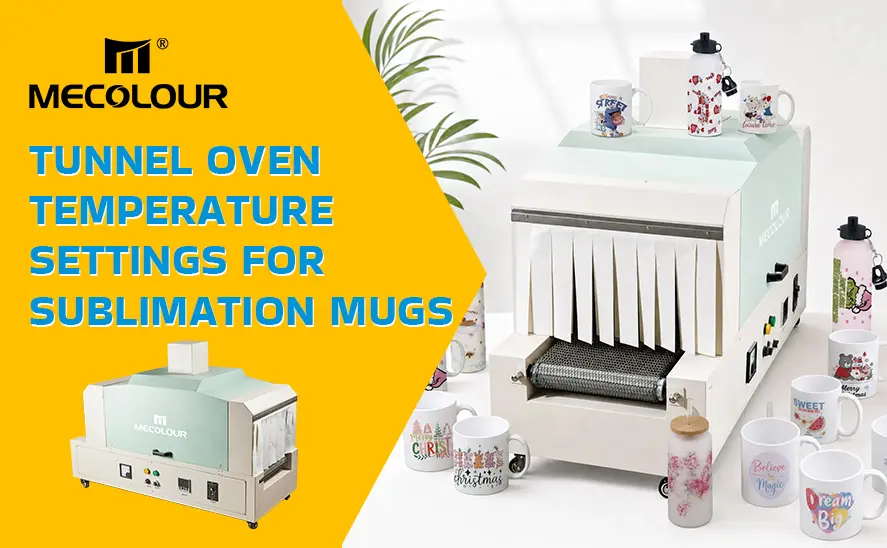
Tunnel Oven Temperature Settings for Perfect Sublimation Mugs
Achieving perfect sublimation mugs is not just about design and materials—it comes down to precise temperature control and consistent h...
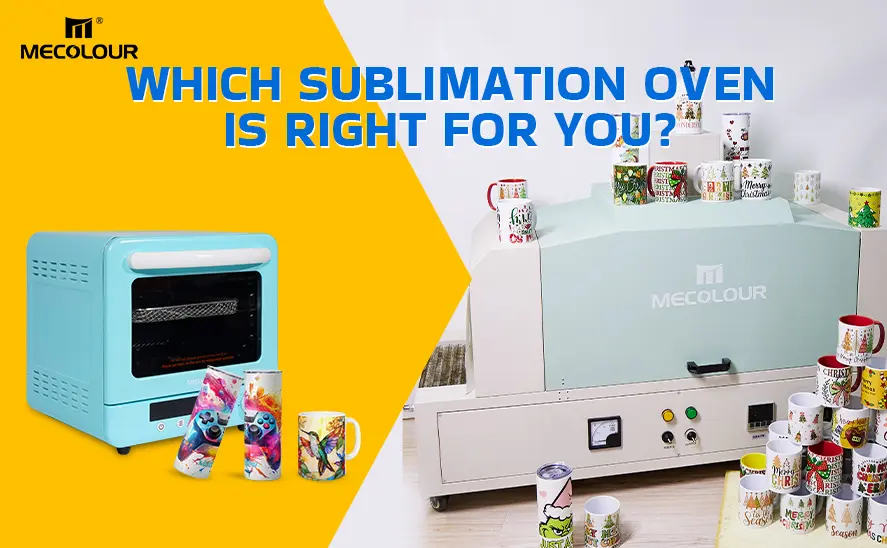
Which Sublimation Oven Is Right for You?
In today’s fast-growing customization industry, selecting the right sublimation oven is no longer a simple decision—it is a strategic i...
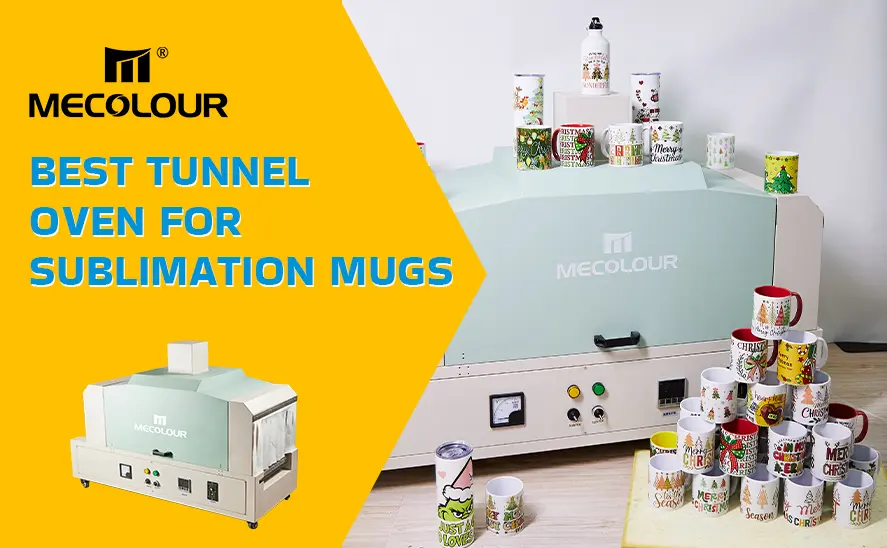
Best Tunnel Oven for Sublimation Mugs
Sublimation mug printing has become one of the most profitable sectors in the personalized gift, promotional products, and custom drink...
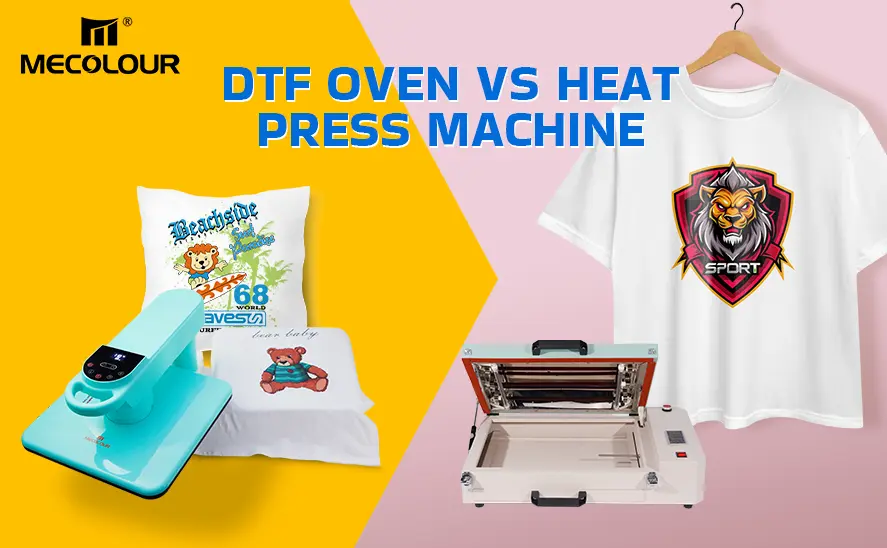
DTF Oven vs Heat Press Machine
In the rapidly evolving world of custom apparel printing, selecting the right equipment is critical to achieving consistent quality, pr...

Why Is the Design Not Transferred Onto the Cup?
Sublimation printing on mugs and tumblers is a precise process that demands accuracy in temperature, pressure, time, materials, and ali...

Join Us at APPPEXPO 2026
We are pleased to formally invite you to visit us at APPPEXPO 2026, taking place from March 4th to 7th, 2026, at the prestigious Nation...
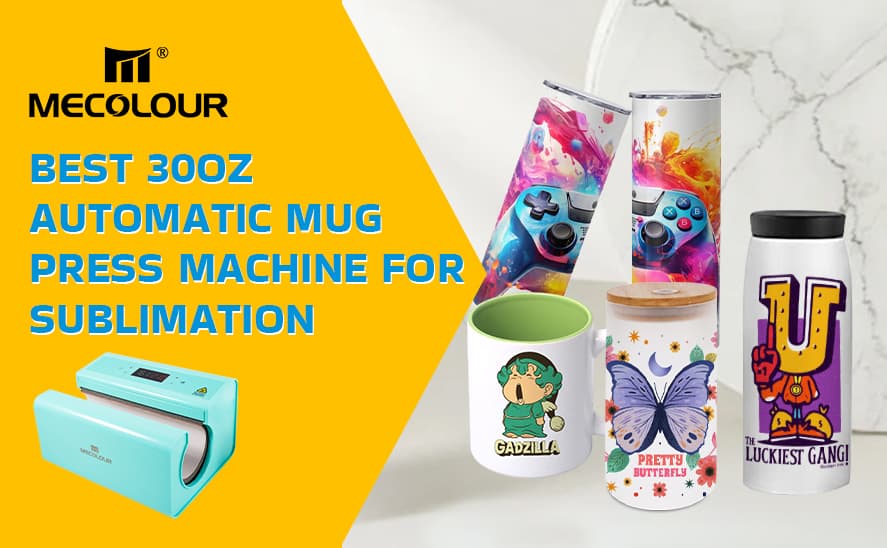
Best 30oz Automatic Mug Press Machine for Sublimation
A 30oz automatic mug press machine is specifically designed to handle larger tumblers—especially 30oz skinny tumblers, which are among ...
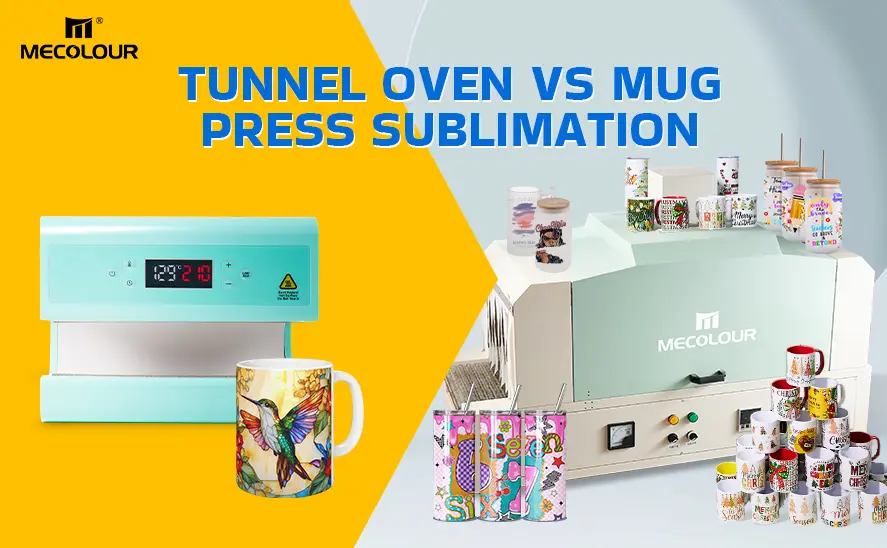
Tunnel Oven vs Mug Press Sublimation
Choosing the right equipment is one of the most important decisions in any sublimation business. When it comes to mug and drinkware pro...
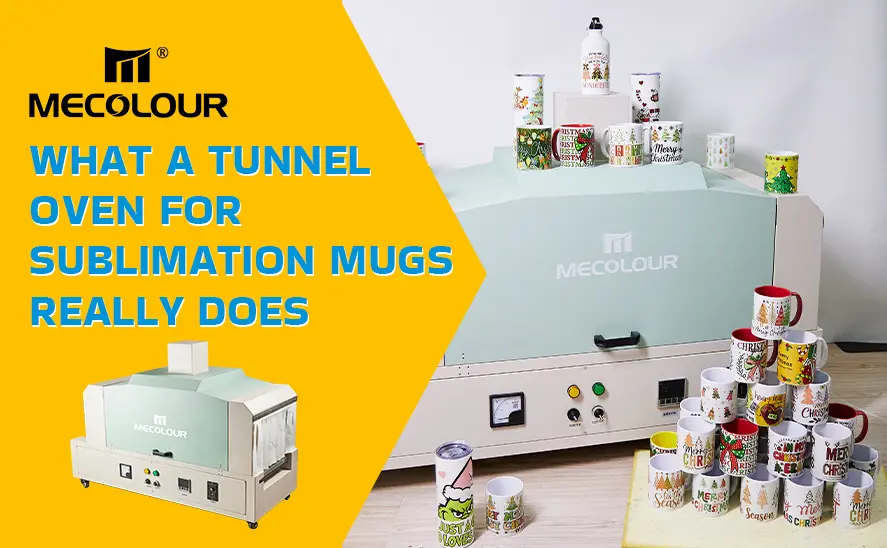
What a Tunnel Oven for Sublimation Mugs Really Does
In professional mug printing, process stability, color accuracy, and production efficiency determine profitability. As demand for perso...

Small vs Large Heat Press: Which One Should You Choose?
Choosing between a small heat press vs a large heat press is a critical decision for anyone involved in heat transfer printing. The rig...

Why Choose 38×38 Plastic Electric Single-Station Heat Press
A 38x38 plastic electric single-station heat press is one of the most reliable and efficient machines for garment decoration, sublimati...