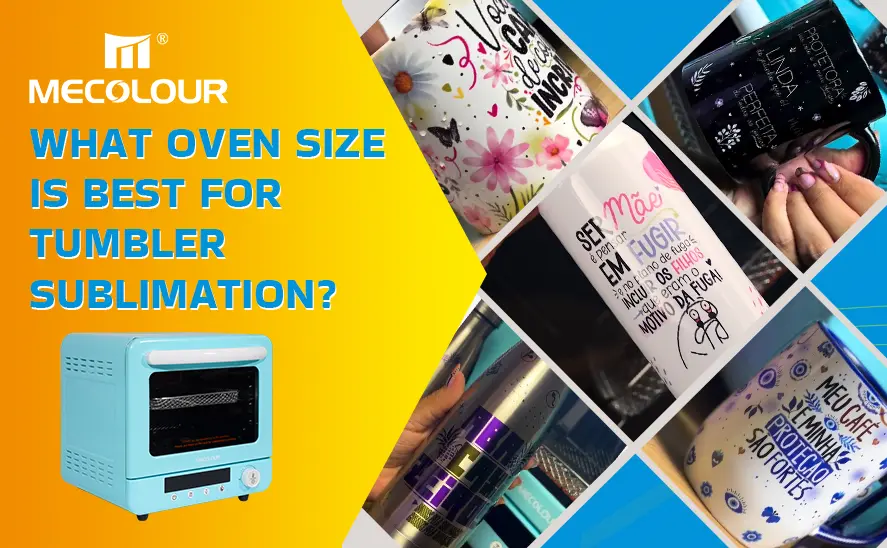
Blog
How to Print Custom Tumblers with a Sublimation Oven
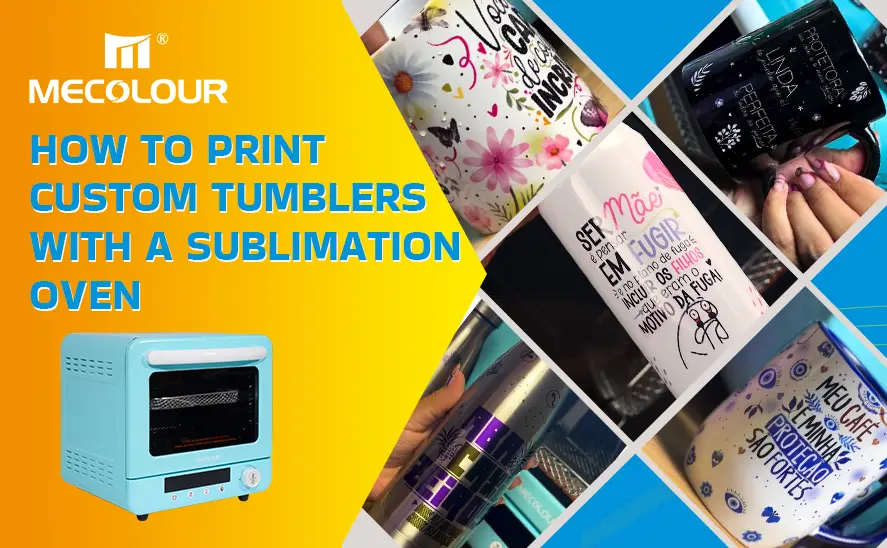
Printing custom tumblers has become one of the most profitable and popular ways to create personalized drinkware for businesses, online shops, and DIY creators. Among all methods, sublimation printing with a sublimation oven stands out for its stunning full-wrap designs, consistent quality, and ability to print multiple tumblers at once. Whether you run a tumbler business or want to add sublimation to your customization lineup, mastering this technique will elevate your production quality and efficiency.
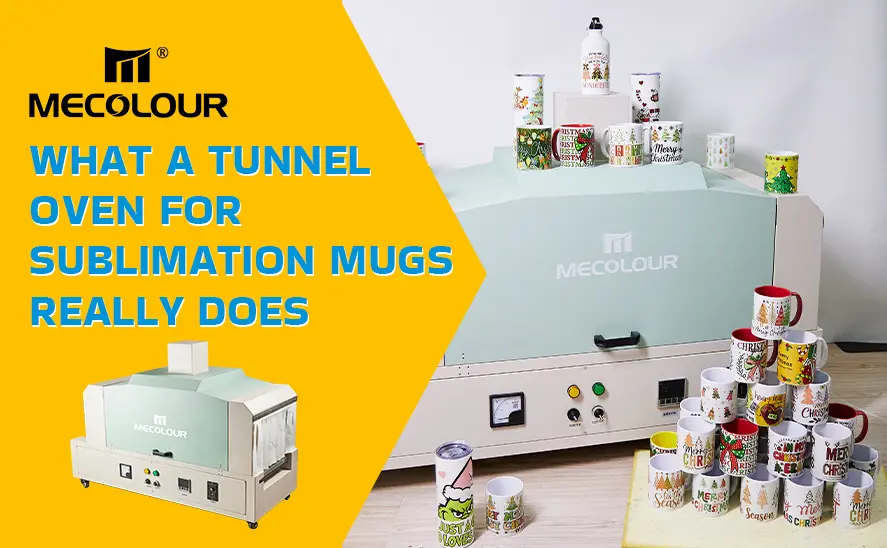
A sublimation oven ensures even heat distribution, making it ideal for bulk production or full 360° prints.
Why Use a Sublimation Oven for Custom Tumbler Printing?
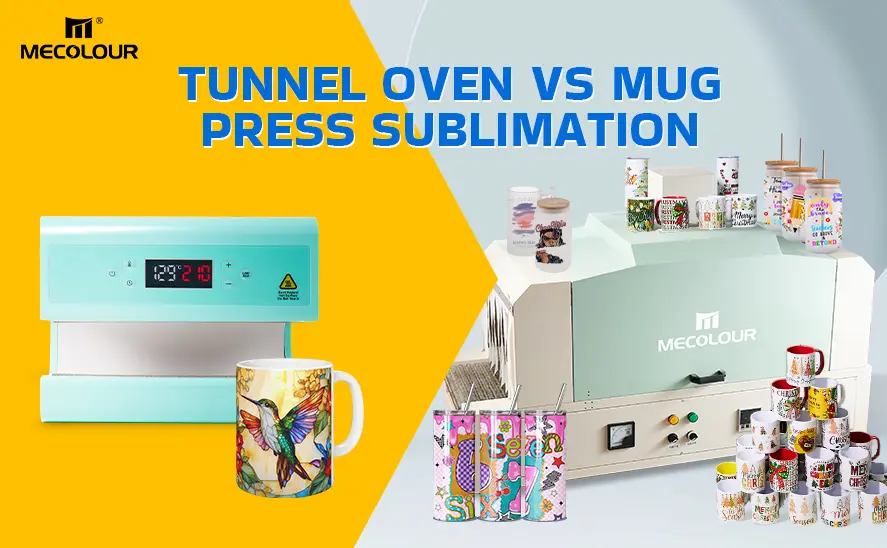
While mug presses can print tumblers, a sublimation oven offers several advantages:
1. Full-Wrap Designs
The oven heats evenly, allowing seamless 360-degree prints without gaps or faded areas.
2. Higher Production Capacity
Print multiple tumblers simultaneously—perfect for growing businesses.
3. Universal Compatibility
Great for:
- 20 oz skinny tumblers
- 30 oz tumblers
- Kids cups
- Glass tumblers
- Ceramic mugs
- Stainless steel bottles
4. More Consistent Results
No pressure adjustment needed; heat wraps secure the design tightly.
5. Safer for Irregular Shapes
Unlike presses, ovens have no mechanical pressure points.
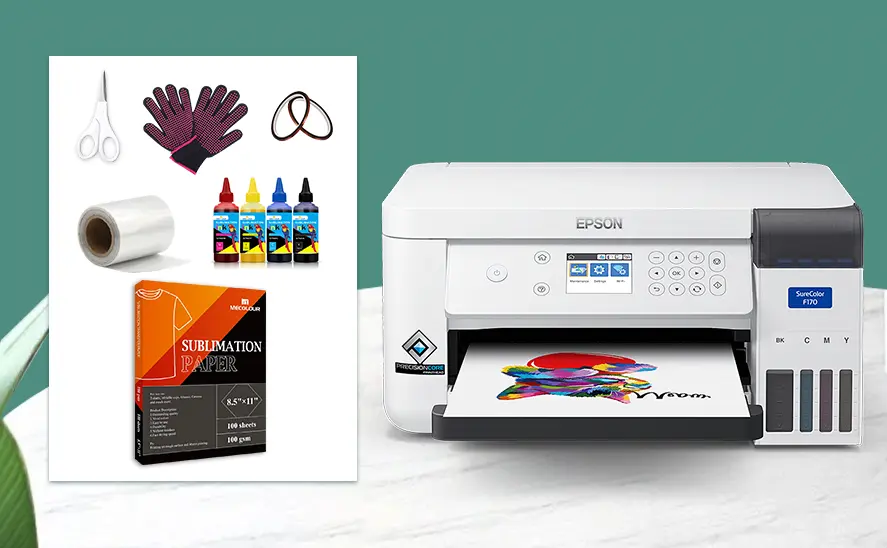
Materials Needed for Sublimation Tumbler Printing
To begin printing custom tumblers, prepare the following:
- Sublimation oven
- Sublimation printer (using sublimation ink)
- Sublimation paper
- Polymer-coated sublimation tumbler
- Heat-resistant tape
- Silicone tumbler wraps / shrink sleeves
- Heat-resistant gloves
- Teflon sheet or protective pad
- Scissors or cutting knife
- Design software (Photoshop, Canva, Illustrator, etc.)
How to Print Custom Tumblers with a Sublimation Oven
Follow these precise steps to ensure perfect prints every time:
Step 1: Prepare Your Design
Create your tumbler artwork in your preferred software.
Tips for success:
- Use high-resolution images (300 DPI)
- Ensure your artwork matches the exact tumbler template size
- Bleed edges slightly to avoid white gaps
- Mirror the design before printing
Step 2: Print on Sublimation Paper
Use a sublimation printer loaded with sublimation ink.
Print settings:
- Print type: High Quality / Photo
- Paper: Sublimation Paper
- Ink: Sublimation Ink
- Color management: ICC profile (optional but recommended)
Allow the ink to dry for a few seconds before handling.
Step 3: Wrap the Design Around the Tumbler
Align the print perfectly around the tumbler.
Technique:
- Wrap the sublimation paper tightly
- Secure seams with heat-resistant tape
- Tape thoroughly from top to bottom
- Make sure no air pockets remain
This ensures accurate pressure during the oven process.
Step 4: Apply Shrink Wrap or Silicone Wrap
Place a shrink sleeve around the tumbler, or use a silicone wrap designed for sublimation.
Using shrink sleeves:
- Shrink with a heat gun until snug
- This creates even pressure for full-wrap sublimation
Using silicone wraps:
- Lock the wrap around the tumbler securely
This step is crucial for sharp, seamless prints.
Step 5: Set the Sublimation Oven Temperature and Time
While times vary by oven and tumbler, the general guideline is:
- Temperature: 160–180°C (320–356°F)
- Time: 5–7 minutes
Rotate tumblers halfway through for evenly distributed heat if your oven does not rotate automatically.
Always refer to your oven and tumbler manufacturer’s recommendations for best results.
Step 6: Bake the Tumbler in the Sublimation Oven
Place the wrapped tumbler inside the oven.
Important:
- Keep tumblers spaced apart for proper airflow
- Use heat-resistant gloves when handling
- Do not touch the paper until completely removed
After the timer ends, carefully remove the tumbler using gloves.
Step 7: Remove Wraps and Reveal the Print
Peel off the shrink wrap or silicone band while warm (but safe to touch with gloves).
You’ll instantly see your vibrant, full-wrap custom print appear.
Common Tumbler Sublimation Problems & How to Fix Them
1. Faded Prints
- Oven not hot enough
- Insufficient time
- Poor pressure from wrap
2. Ghosting (double images)
- Paper shifted before sublimation
- Not enough tape securing the design
3. Uneven Colors
- Wrinkled shrink sleeve
- Overcrowded oven
- Incorrect heat distribution
4. White Gaps
- Design not wide enough
- Paper not wrapped tightly
Tips for Professional-Quality Custom Tumblers
- Use high-quality sublimation tumblers with consistent polymer coating
- Double-tape the seam for strong pressure
- Preheat the oven for reliable temperature control
- Use a tumbler template to avoid sizing mistakes
- Store tumblers in dust-free environments
- Keep prints dry before wrapping
- Work in a clean space to prevent lint or fibers from transferring
Why Businesses Use Sublimation Ovens for Tumbler Printing
Businesses prefer sublimation ovens because they offer:
- Fast production for bulk orders
- Lower labor cost compared to manual presses
- Superior design flexibility
- High-quality results without fading or peeling
- Full-color, full-wrap artwork
For Etsy stores, print shops, promotional gifting companies, and tumbler brands, an oven is the most scalable and efficient solution.
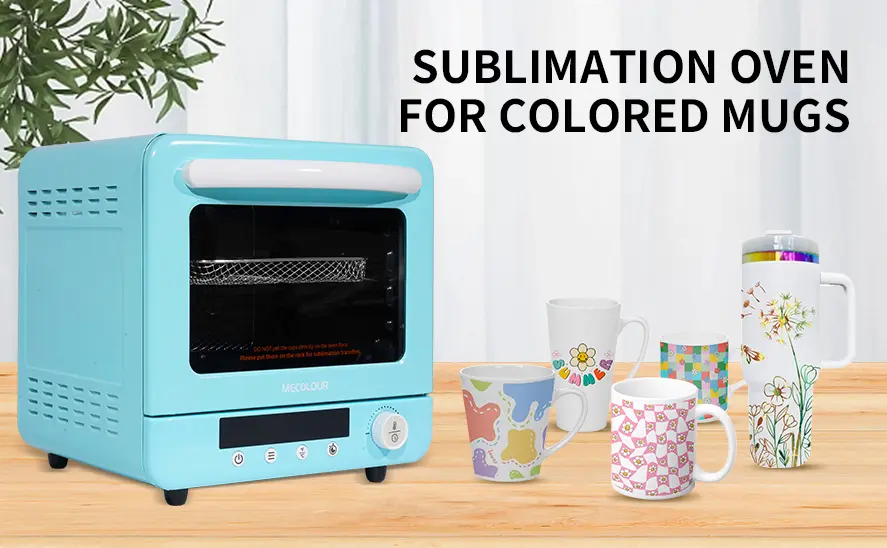
Sublimation Oven for Mugs
Learning how to print custom tumblers with a sublimation oven empowers you to produce high-quality, vibrant, and durable drinkware with professional results every time. With the right materials, proper setup, and careful technique, sublimation ovens allow for consistent full-wrap prints, making them ideal for personalized gifts, small business production, or large-scale commercial orders.
Related:
Comparison: Sublimation Oven vs. Heat Press
Best Sublimation Oven for Tumblers in 2025
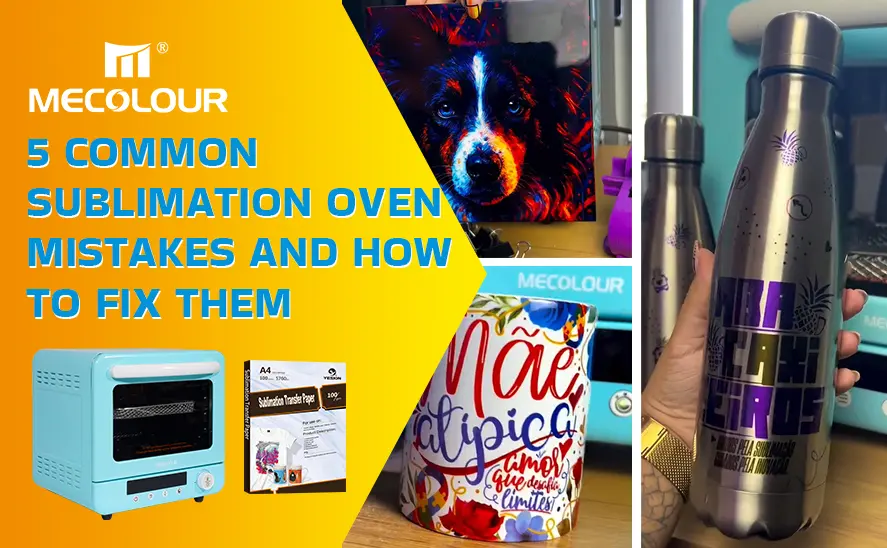
5 Common Sublimation Oven Mistakes and How to Fix Them