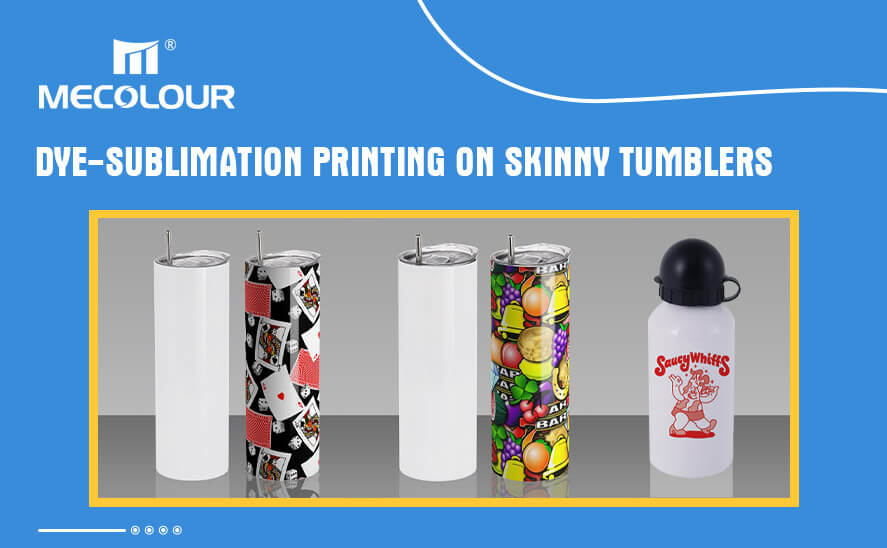
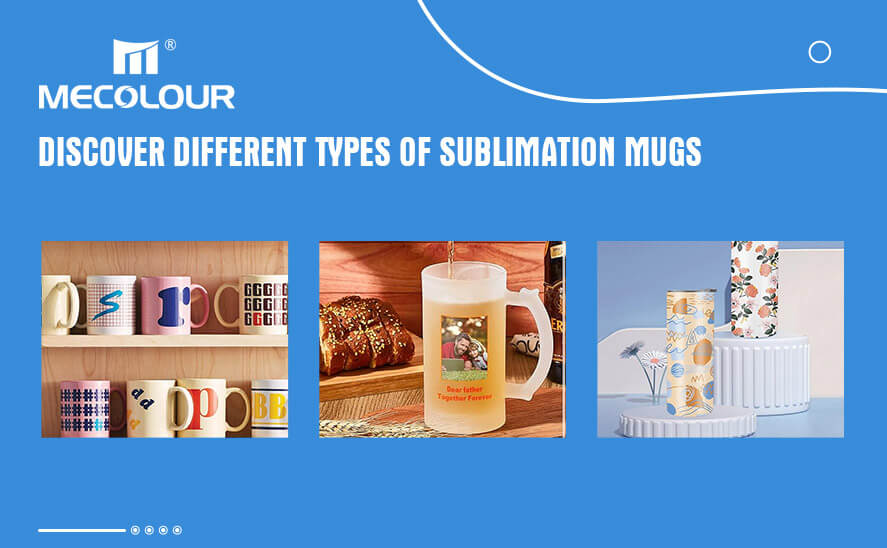
Dye-sublimation printing has gained popularity in the customization industry due to its ability to produce vibrant and long-lasting prints on various surfaces, including skinny tumblers. Skinny tumblers, also known as slim tumblers, are sleek and slender containers commonly used for beverages on the go. In this article, we will explore the process of mastering dye-sublimation printing on skinny tumblers, including the necessary equipment, preparation steps, and tips for achieving high-quality prints.
What is Dye-Sublimation Printing?
Dye-sublimation is a printing technique that uses heat to transfer dye onto materials such as plastic, fabric, or metal. When it comes to skinny tumblers, this process allows for full-color, high-resolution designs that become a seamless part of the tumbler’s surface.
Choosing the Right Skinny Tumbler
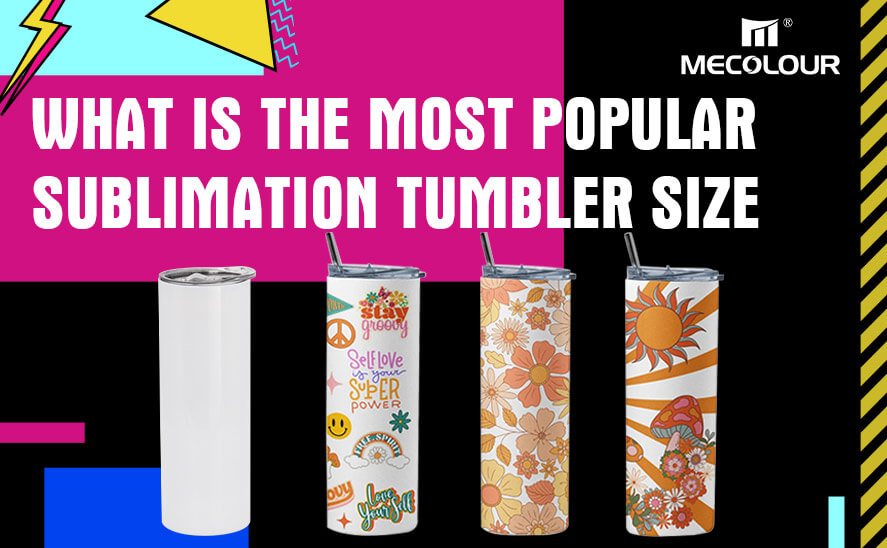
Before diving into dye-sublimation, it’s crucial to select the appropriate skinny tumbler. Opt for tumblers with a polymer coating specifically designed for sublimation. This coating ensures better ink absorption and a more vibrant print.
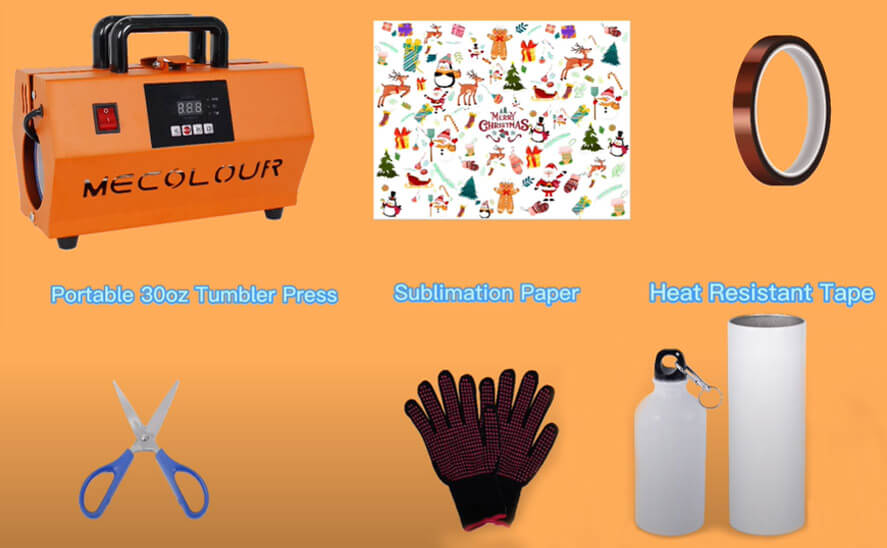
Equipment Needed for Dye-Sublimation Printing on Skinny Tumblers
Dye-Sublimation Printer: To begin the process, you will need a dye-sublimation printer capable of printing on transfer paper specifically designed for sublimation printing. These printers use heat to transfer the ink onto the tumbler’s surface.
Sublimation Ink: Special sublimation inks are required for the printing process. These inks are designed to convert from a solid to a gas state under heat, allowing them to penetrate the surface of the tumbler and create vibrant and long-lasting prints.
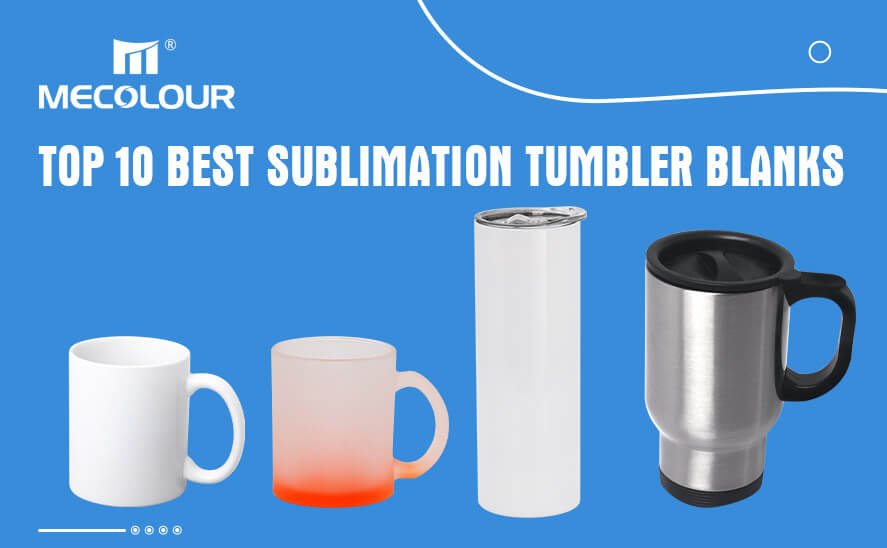
Skinny Tumblers: Choose high-quality skinny tumblers made from materials suitable for sublimation printing, such as stainless steel or aluminum. Ensure that the tumblers have a coating or polymer layer that can accept the sublimation ink.
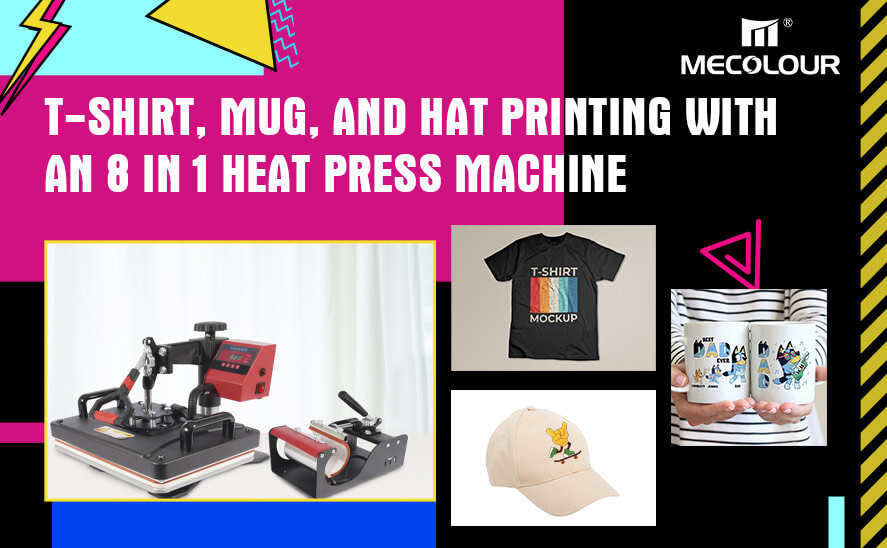
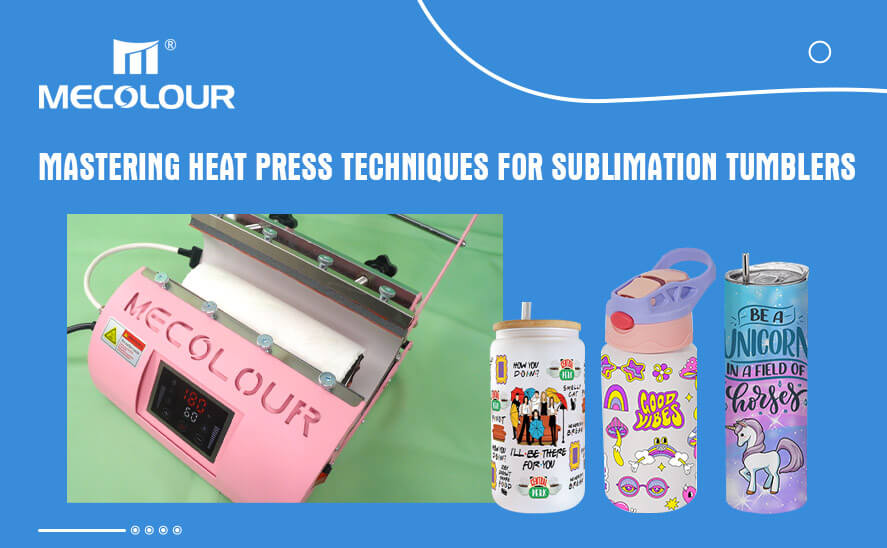
Heat Press or Oven: A mug press machine or an oven is necessary for the sublimation process. The heat press applies consistent heat and pressure, while an oven allows for batch printing. Ensure that the mug press or oven can accommodate the size of the skinny tumblers.
Sublimation Transfer Paper: Use high-quality sublimation transfer paper specifically designed for use with the dye-sublimation process. The transfer paper holds the sublimation ink and transfers it onto the tumbler when heated.
Preparation Steps for Dye-Sublimation Printing on Skinny Tumblers
Design Preparation: Create or select the design you want to print on the skinny tumblers. Ensure that the design is compatible with the dimensions of the tumbler and that it fits within the printing area of your sublimation printer.
Print the Design: Use your dye-sublimation printer to print the design on the sublimation transfer paper. Follow the printer’s instructions for optimal print settings, such as print resolution and color management.
Preparing the Skinny Tumblers: Clean the surface of the skinny tumblers thoroughly with a lint-free cloth and isopropyl alcohol. This step removes any dirt, oils, or residue that may hinder the sublimation ink from adhering properly to the tumbler’s surface.
Secure the Transfer Paper: Wrap the printed sublimation transfer paper tightly around the skinny tumbler, ensuring that the design is facing the tumbler’s surface. Secure the paper in place using heat-resistant tape to prevent it from shifting during the sublimation process.
Sublimation Process: Heat the heat press or oven to the appropriate temperature according to the manufacturer’s instructions. Place the wrapped skinny tumbler in the heat press or oven and apply the recommended time, temperature, and pressure settings. This process allows the sublimation ink on the transfer paper to convert to a gas and penetrate the tumbler’s surface, resulting in a permanent and vibrant print.
How to print full image on skinny sublimation stainless steel tumbler?
Tips for Achieving High-Quality Prints
Use High-Quality Images: Ensure that the images used for printing are high-resolution and suitable for sublimation printing. Higher resolution images will produce sharper and more detailed prints on the skinny tumblers.
Test and Calibrate: Before printing a large batch of skinny tumblers, perform test prints to calibrate the printer and adjust the color settings if necessary. This step ensures accurate color reproduction and minimizes wasted materials.
Even Pressure and Heat Distribution: When using a heat press, ensure that the pressure is evenly distributed across the skinny tumbler to avoid uneven prints. In an oven, arrange the tumblers in a way that allows for consistent heat distribution.
Timing and Temperature: Follow the manufacturer’s instructions for the recommended time and temperature settings. Overheating or underheating can result in poor color transfer or image distortion.
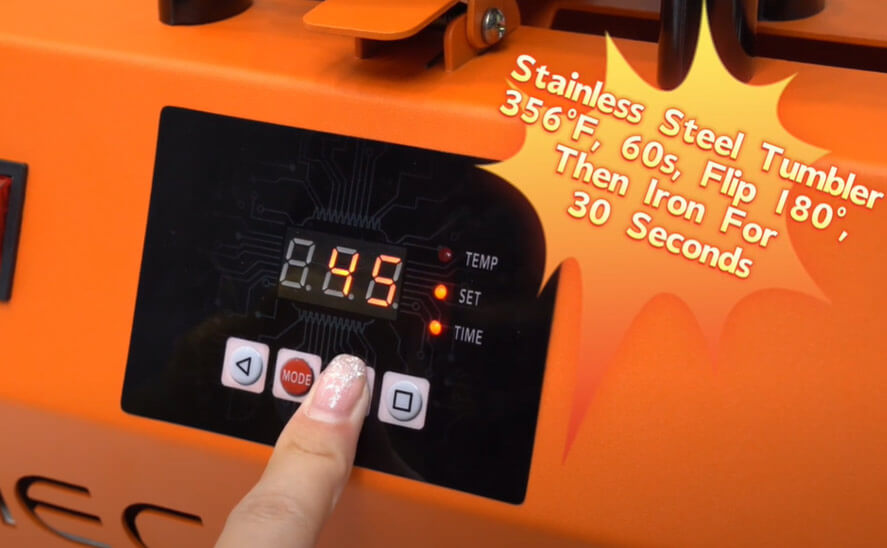
set tumbler press
Cooling and Finishing: After the sublimation process, allow the skinny tumblers to cool completely before handling them. This step ensures that the sublimation ink has fully set and adhered to the tumbler’s surface. Once cooled, remove the transfer paper carefully to reveal the vibrant and permanent print.
In conclusion, mastering dye-sublimation printing on skinny tumblers requires the right equipment, proper preparation steps, and attention to detail. By following the outlined process and utilizing high-quality materials, you can achieve high-quality and long-lasting prints on skinny tumblers. Remember to experiment, practice, and refine your technique to continually improve the quality of your sublimation prints.
FAQs
No, dye-sublimation requires a specialized printer with sublimation ink capabilities.
Yes, choose tumblers with polymer coatings designed for optimal sublimation printing.
For longevity, it’s recommended to hand wash sublimated tumblers to preserve the vibrancy of the print.
While it’s technically possible, achieving optimal results on stainless steel may be challenging due to the lack of a polymer coating.


