Blog
Crafting Mugs: Sublimation Paper Techniques

Crafting personalized mugs has become a popular trend, whether for personal use or as gifts. Sublimation paper techniques are widely used to transfer designs onto mugs, resulting in vibrant and long-lasting prints. In this article, we will explore the process of crafting mugs using sublimation paper techniques, including the materials needed, the step-by-step process, and some tips for achieving professional-looking results.
Materials Needed for Crafting Mugs
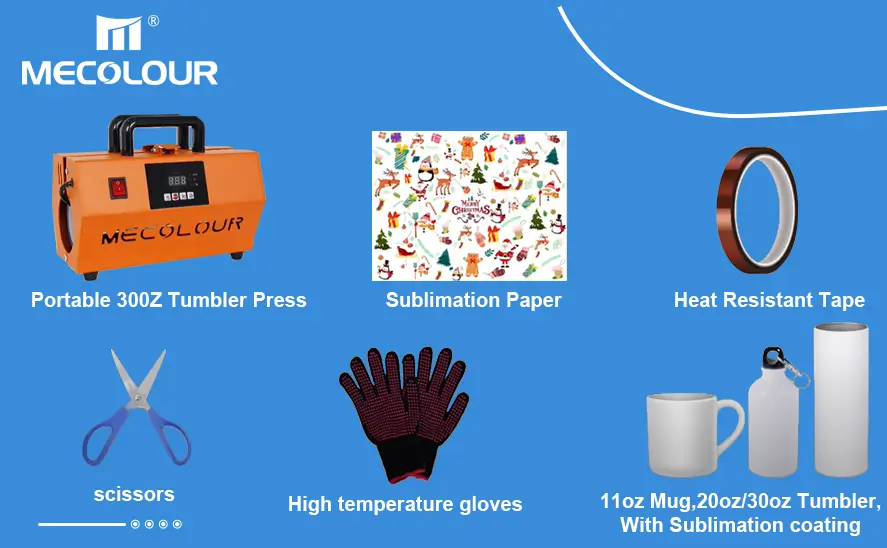
To get started with sublimation paper techniques for crafting mugs, you will need the following materials:
Sublimation Printer: A printer specifically designed for sublimation printing is required to achieve high-quality and durable prints. These printers use special sublimation inks that can turn into gas when heat is applied.
Sublimation Paper: Sublimation paper is coated with a special layer that allows the ink to transfer onto the mug’s surface. It is essential to use high-quality sublimation paper for optimal results. Investing in premium sublimation paper ensures sharp, detailed, and long-lasting prints on your mugs.
Sublimation Inks: Sublimation inks are heat-activated and have a higher concentration of dye compared to regular inks. These inks are specifically formulated to bond with the polymer coating on the mug’s surface.
Heat Press Machine: A heat press machine is used to transfer the design from the sublimation paper to the mug’s surface. It applies heat and pressure, allowing the sublimation inks to penetrate the mug’s coating and bond with the material.
Heat-Resistant Tape: Heat-resistant tape is used to secure the sublimation paper onto the mug during the heat press process. It helps prevent any movement or misalignment of the design.
Blank Mugs: Choose high-quality, blank mugs that have a polymer coating specifically designed for sublimation printing. The coating allows the sublimation inks to bond effectively with the mug’s surface.
Protective Gloves: Heat-resistant gloves are necessary to handle the hot mug and prevent any burns or injuries during the heat press process.
sublimation paper printing on tumblers
Step-by-Step Process for Crafting Mugs
Now let’s dive into the step-by-step process of crafting mugs using sublimation paper techniques:
Design Preparation: Use graphic design software, such as Adobe Photoshop or CorelDRAW, to create or import the design you want to transfer onto the mug. Ensure that the design is in the correct dimensions and resolution for the mug’s surface.
Printing: Load the sublimation paper into the sublimation printer, making sure to follow the printer’s instructions. Print the design onto the sublimation paper using the sublimation inks. Allow the printed design to dry completely before proceeding to the next step.
Related:
Printing notes for sublimation transfer paper
Mug Preparation: Clean the blank mug thoroughly to remove any dust or debris. Ensure that the mug’s surface is smooth and free from any scratches or imperfections.
Sublimation Paper Placement: Wrap the printed sublimation paper around the mug, positioning the design where you want it to appear. Secure the sublimation paper in place using heat-resistant tape. Make sure the design is aligned correctly and that there are no wrinkles or bubbles in the paper.
Heat Press Setup: Preheat the heat press machine to the recommended temperature for sublimation printing. Consult the instructions provided by the manufacturer of your sublimation paper and mug for the appropriate temperature and time settings.
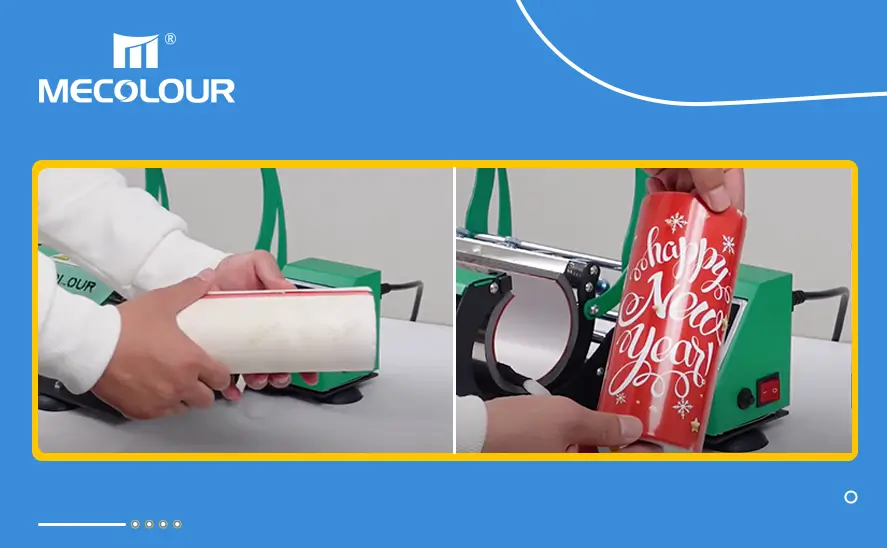
Heat Press Process: Once the heat press machine has reached the desired temperature, carefully place the mug with the attached sublimation paper into the machine. Apply firm pressure and close the heat press machine according to the manufacturer’s instructions. Set the timer based on the recommended time for sublimation printing.
Cooling and Removal: After the designated time has elapsed, carefully remove the mug from the heat press machine using heat-resistant gloves. Place the mug on a heat-resistant surface and allow it to cool completely. Avoid touching the design during this cooling period, as it may still be hot.
Final Touches: Once the mug has cooled down, remove the sublimation paper and tape. Inspect the transferred design for any imperfections or areas that may need touch-ups. If necessary, use a clean cloth and isopropyl alcohol to clean up any stray ink or residue.
Quality Check: Examine the transferred design for vibrant colors, sharp details, and proper adhesion. Ensure that the design is centered and aligned correctly on the mug’s surface.
Enjoy or Package: Your crafted mug is now ready to be enjoyed or packaged as a gift. Consider adding a protective coating or wrapping the mug in tissue paper or a gift box to enhance the presentation.
How to print full image on skinny sublimation stainless steel tumbler?
If you are interested in more sublimation printing videos,please follow Mecolour youtube.
Tips for Professional-Looking Results
To achieve professional-looking results when crafting mugs using sublimation paper techniques, consider the following tips:
Use High-Quality Materials: Invest in high-quality sublimation paper, inks, and blank mugs. Using inferior materials may result in poor printquality and durability.
Test and Adjust: Before printing on a large batch of mugs, it’s recommended to test the design and settings on a single mug. This allows you to make any necessary adjustments to the design, temperature, and time settings to achieve the desired results.
Proper Alignment: Take extra care when aligning the sublimation paper on the mug’s surface. Ensure that the design is centered and straight to avoid any crooked or misaligned prints.
Consistent Pressure: Apply consistent and firm pressure during the heat press process. This helps to ensure even heat distribution and proper ink transfer onto the mug’s surface.
Avoid Overheating: Be mindful of the recommended temperature and time settings for sublimation printing. Overheating the mug may result in color distortion or damage to the mug’s coating.
Cool Down Completely: Allow the mug to cool down completely before handling or inspecting the transferred design. Premature handling may cause smudging or smearing of the ink.
Crafting mugs using sublimation paper
Clean and Maintain Equipment: Regularly clean and maintain your sublimation printer, heat press machine, and other equipment to ensure optimal performance and longevity.
Practice and Experiment: The more you practice and experiment with different designs, techniques, and materials, the better your results will be. Don’t be afraid to try new ideas and techniques to achieve unique and professional-looking mugs.
Crafting mugs using sublimation paper techniques can be a rewarding and creative process. By following the step-by-step process outlined in this article and implementing the tips for achieving professional-looking results, you’ll be able to create personalized mugs that are vibrant, durable, and perfect for gifting or personal use. Remember to invest in high-quality materials, test and adjust as needed, and practice to refine your skills.
Related:
How to Choose the Right Transfer Paper for Mug Printing
What size sublimation paper for 20 oz Skinny Tumbler?