Blog
Why Is the Design Not Transferred Onto the Cup?
Sublimation printing on mugs and tumblers is a precise process that demands accuracy in temperature, pressure, time, materials, and alignment. When the design is not transferred onto the cup, the issue is never random. It is the direct result of one or more technical inconsistencies in the sublimation workflow.
In this comprehensive guide, we break down every possible cause and provide actionable solutions to ensure your sublimation design transfers perfectly onto the cup every time.
Why the Design Is Not Transferred Onto the Cup?
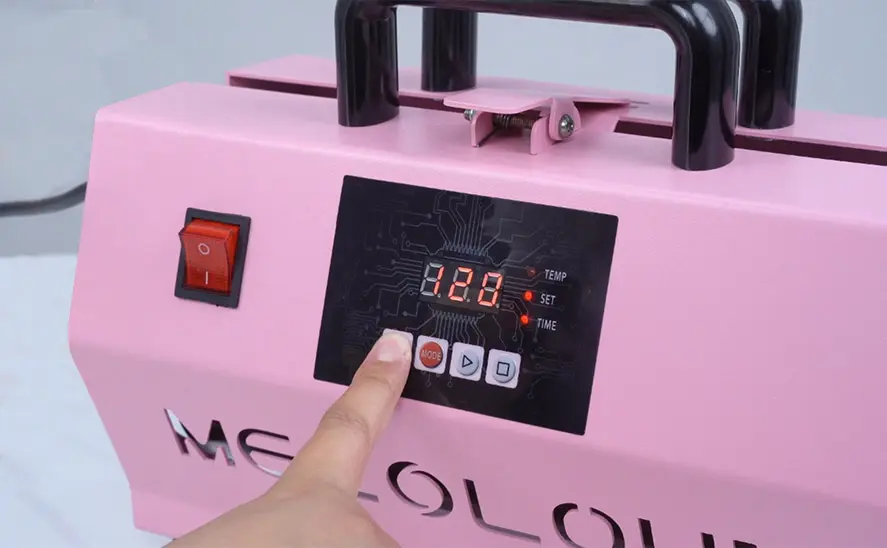
1. Incorrect Sublimation Temperature Settings
One of the primary reasons the design does not transfer onto the cup is insufficient heat.
Sublimation ink requires a specific temperature range—typically 180°C to 200°C (356°F to 392°F)—to convert from solid to gas and bond with the polyester coating on the mug. If the temperature is too low:
- The ink will not fully vaporize.
- The image may appear faded or not transferred at all.
- Only partial areas of the design may appear.
Solution:
- Calibrate your mug press using a digital thermometer.
- Confirm that the heating element reaches the actual set temperature.
- Avoid relying solely on the machine’s display reading.
If the temperature is too high, ghosting or discoloration may occur, but complete non-transfer is usually due to low heat.
2. Insufficient Pressure During Heat Pressing
Proper pressure distribution is critical for successful sublimation.
When the mug press does not apply firm, even pressure:
- The transfer paper does not stay in full contact with the cup.
- The sublimation gas cannot properly bond to the coating.
- Blank or uneven patches appear on the cup.
Solution:
- Adjust the pressure knob until the mug fits tightly.
- The press should close firmly, not loosely.
- Use silicone wraps if necessary for even pressure distribution.
Uneven pressure is especially common with tapered or non-standard cup shapes.
3. Incorrect Sublimation Time Settings
Even with correct temperature and pressure, insufficient pressing time prevents full ink activation.
Standard sublimation mug pressing time:
- 180–200 seconds at 180–190°C
If the pressing time is too short:
- The ink does not fully sublimate.
- The image appears incomplete.
- Some areas may not transfer.
Solution:
- Follow recommended manufacturer settings.
- Increase time in 10-second increments if transfer is weak.
- Avoid over-pressing, which can cause blurring.
4. Using Non-Sublimation-Compatible Cups
This is one of the most overlooked causes.
Sublimation only works on:
- Polyester-coated mugs
- Specially treated sublimation blanks
If you attempt to sublimate onto:
- Ceramic mugs without coating
- Stainless steel without polyester layer
- Regular glassware
The design will not transfer at all.
Solution:
- Always verify the cup is labeled “Sublimation Coated”.
- Purchase blanks from reliable suppliers.
- Perform a test print before large production runs.
No coating means no chemical bonding. The result is zero image transfer.
5. Incorrect Sublimation Ink
Not all inks are sublimation inks.
If standard inkjet ink is used:
- It will not convert to gas.
- It will not bond with the cup surface.
- The image will remain on the transfer paper.
Solution:
- Use certified sublimation ink only.
- Confirm your printer is converted for sublimation use.
- Avoid mixing regular ink with sublimation ink.
Using the wrong ink guarantees non-transfer.
6. Improper Paper Placement and Taping
Design transfer requires tight and secure positioning.
If the sublimation paper shifts during pressing:
- The image may blur.
- Certain areas may not transfer.
- Ghosting can occur.
If the paper is loosely wrapped:
- The gas escapes.
- The image becomes incomplete.
Solution:
- Wrap the paper tightly around the mug.
- Secure with heat-resistant tape.
- Ensure no gaps between paper and surface.
Precision in alignment prevents transfer failure.

7. Moisture in Paper or Mug Surface
Moisture is the enemy of sublimation.
If the transfer paper absorbs humidity:
- Steam forms during pressing.
- Ink disperses unevenly.
- The design fails to bond.
If the mug surface is not dry:
- Moisture blocks sublimation reaction.
Solution:
- Store sublimation paper in sealed packaging.
- Pre-press mugs for 5–10 seconds to remove moisture.
- Work in low-humidity environments when possible.
Even minor moisture contamination disrupts sublimation chemistry.
8. Low-Quality Sublimation Blanks
Cheap sublimation mugs often have:
- Thin polyester coating
- Uneven coating layers
- Poor heat resistance
These defects cause:
- Patchy transfer
- Blank spots
- Inconsistent image bonding
Solution:
- Use premium-grade sublimation blanks.
- Inspect coating consistency.
- Avoid unverified suppliers.
A defective coating layer prevents ink absorption.
9. Incorrect Image Mirroring
While this does not stop transfer entirely, failing to mirror the image before printing results in a reversed design.
Some users assume the design didn’t transfer correctly when it actually transferred backward.
Solution:
- Always mirror your design before printing.
- Double-check printer settings.
10. Heat Press Equipment Malfunction
Over time, mug presses may develop:
- Heating element degradation
- Uneven temperature zones
- Faulty thermostat readings
This leads to:
- Partial transfers
- Blank sections
- Inconsistent quality
Solution:
- Test with heat strips.
- Replace worn heating elements.
- Perform regular maintenance checks.
Consistent equipment performance ensures reliable transfers.
Professional Best Practices for Perfect Mug Sublimation
To achieve flawless transfer results:
- Use high-resolution artwork (300 DPI minimum).
- Print using correct ICC color profiles.
- Trim excess paper edges.
- Apply even pressure from top to bottom.
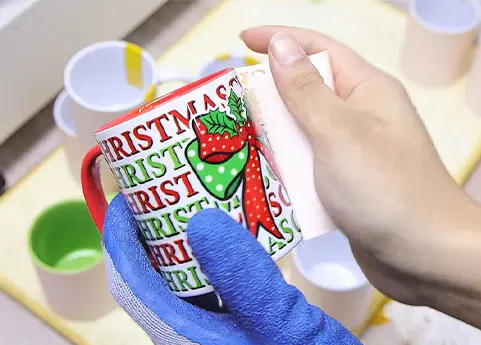
- Allow mug to cool naturally before removing paper.
- Wear heat-resistant gloves to avoid shifting.
Precision at every stage guarantees optimal sublimation bonding.
By optimizing each variable and using certified sublimation supplies, we ensure every design bonds cleanly, vibrantly, and permanently onto the cup surface.
Consistent results are achieved through controlled processes, not guesswork.
Related:
Best Heat Press for Colored Sublimation Mugs
How to make sublimation coating for mugs?
10 common problems and 17 advanced tips in mug sublimation printing
The Best Mug Press Machine for Sublimation Printing
Top Mistakes to Avoid in Sublimation Mug Printing
Why did my sublimation mug turn yellow?