Blog
10 common problems and 17 tips in mug sublimation printing

Sublimation printing on mugs is a popular and cost-effective way to create personalized and unique mugs. However, there can be some common problems that arise during the printing process that can affect the quality of the final product.
In this blog, we will discuss some of the most common problems in mug sublimation printing and how to solve them. Also, we will share some advanced tips and tricks for dye sublimation printing on mugs.
10 common problems in mug sublimation printing and how to solve
Problem #1: Poor image quality or fading
Poor image quality or fading is one of the most common problems in mug sublimation printing. This occurs when the printed image appears blurry or unclear, or the colors start to fade after a short time. To solve this problem, you need to ensure that you use high-quality sublimation ink and transfer paper that are compatible with your printer and mug. You should also check that your printer is set to the correct color settings and that the image is printed at a high resolution. Furthermore, avoid exposing the mug to high temperatures or sunlight for prolonged periods, as this can cause fading.
Problem #2: Uneven or incomplete transfer
Uneven or incomplete transfer is another common problem in mug sublimation printing. This occurs when the image does not transfer correctly onto the mug or is not evenly distributed. To solve this problem, you need to ensure that the mug is clean and free from dust or debris before transferring the image. Use a heat press with even pressure and temperature distribution. You should also ensure that the mug is properly aligned and that the transfer paper is secured in place with heat-resistant tape.
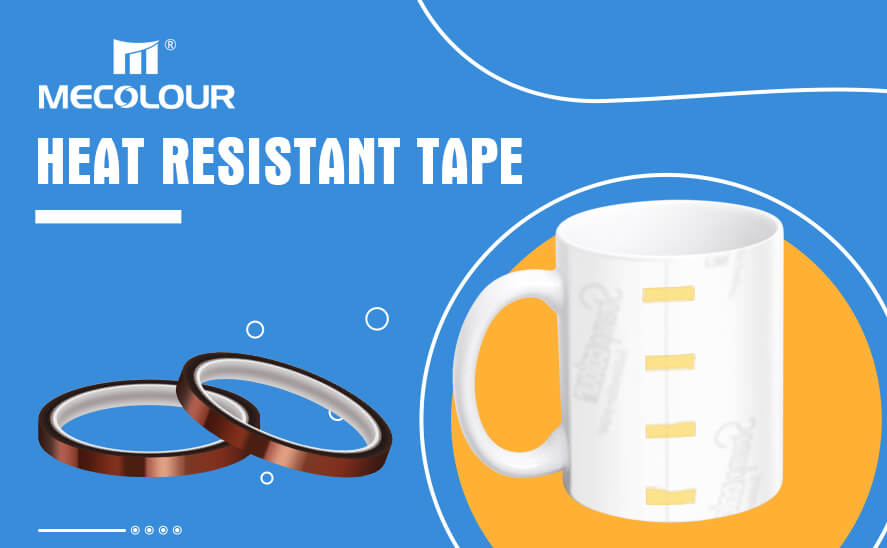
Heat Resistant Tape
Problem #3: Image ghosting
Image ghosting occurs when the image appears faintly on the mug after the transfer. This can happen when the transfer paper is reused or when the mug is moved during the transfer process. To solve this problem, ensure that the transfer paper is not reused, and that the mug is not moved during the transfer process.
Problem #4: Blurred or smudged image
Blurred or smudged image can occur if the transfer paper is not pressed firmly against the mug during the transfer process. This can also happen if the transfer paper is not the correct size or if the heat press is not set to the correct pressure. To solve this problem, use a heat-resistant tape to secure the paper in place, and ensure that the heat press is set to the correct pressure.
Problem #5: Wrinkling or peeling
Wrinkling or peeling can occur if the mug is not heated for long enough or if the heat press is not set to the correct temperature. This can also happen if the transfer paper is not secured correctly. To solve this problem, ensure that the mug is heated for the recommended time and temperature, and that the heat press is properly calibrated. You should also ensure that the transfer paper is secured correctly with heat-resistant tape.
Problem #6: Ink bleeding
Ink bleeding is when the ink on the transfer paper starts to bleed or spread onto the mug during the transfer process. This can happen if the transfer paper is not the correct size or if the heat press is not set to the correct pressure. To solve this problem, ensure that the transfer paper is the correct size for the mug and that the heat press is set to the correct pressure.
Problem #7: Inconsistent color
Inconsistent color is when the colors on the mug appear different from the original image or are not evenly distributed. This can happen if the transfer paper is not aligned correctly or if the mug is not heated evenly. To solve this problem, ensure that the transfer paper is properly aligned and that the mug is heated evenly using a heat press with even pressure and temperature distribution.

Sublimation transfer use a heat press
Problem #8: Cracking or peeling after use
Cracking or peeling can occur after the mug has been used for some time. This can happen if the transfer paper was not removed properly or if the mug was not heated for long enough. To solve this problem, ensure that the transfer paper is removed properly after the transfer process and that the mug is heated for the recommended time and temperature.
Problem #9: Uneven or distorted image
Uneven or distorted images can occur when the transfer paper moves during the transfer process or if the mug is not heated evenly. To solve this problem, ensure that the transfer paper is properly secured with heat-resistant tape and that the mug is heated evenly using a heat press with even pressure and temperature distribution.
Problem #10: Overheating
Overheating can occur when the mug is heated for too long or at a temperature that is too high. This can cause the mug to become discolored or to crack. To solve this problem, ensure that the mug is heated for the recommended time and temperature and that the heat press is properly calibrated.
It’s important to remember that sublimation printing is a process that requires attention to detail and a bit of trial and error. With patience and practice, you can perfect your mug sublimation printing techniques and create beautiful, personalized mugs that are sure to impress.
In summary, mug sublimation printing can present several common problems that can affect the quality of the final product. However, by using high-quality materials, properly aligning the mug and transfer paper, using a heat press with even pressure and temperature distribution, and following the recommended heating time and temperature, you can create high-quality and professional-looking sublimation mugs. By implementing these solutions, you can ensure that your sublimation mugs are of the highest quality and will last for a long time.
17 advanced tips and tricks for mug sublimation printing
Sublimation printing on mugs is a popular method for creating personalized and unique mugs that can be used for various purposes, such as gifting, promotional items, or simply for personal use. However, as mentioned earlier, there are some common problems that can occur during the printing process that can affect the quality of the final product. Here are some additional tips on how to solve these problems:
Tip #1: Experiment with different mug sizes and shapes
While standard 11oz mugs are the most common for sublimation printing, there are many other sizes and shapes available. Experimenting with different mug sizes and shapes can help you create unique and eye-catching designs that stand out from the crowd.
Here is a video about Mecolour factory Automatic Mug Heat Press Sublimation Machine for Cup 11-15oz
Tip #2: Use a mug wrap to ensure even heating
A mug wrap is a silicone sleeve that fits over the mug and helps to distribute heat evenly during the transfer process. Using a mug wrap can help to prevent uneven heating and ensure that the image is transferred smoothly and evenly.

Mug wraps
Tip #3: Pre-heat the mug before transferring the image
Pre-heating the mug before transferring the image can help to ensure even heating and prevent any warping or distortion of the mug. Simply place the mug in the heat press for a few seconds before adding the transfer paper and completing the transfer process.
Tip #4: Use a heat gun for spot fixes
If you notice any areas where the image did not transfer properly, you can use a heat gun to fix the issue. Simply apply heat to the affected area for a few seconds until the image transfers properly.
Tip #5: Add a finishing spray for extra durability
To ensure that your sublimation mugs last as long as possible, consider using a finishing spray. This can help to protect the image from fading or peeling over time and can add an extra layer of durability to the finished product.
Tip #6: Use the right paper and ink
Using the right sublimation paper and ink is essential for achieving high-quality and long-lasting results. Be sure to use paper and ink that are specifically designed for sublimation printing and compatible with your printer.
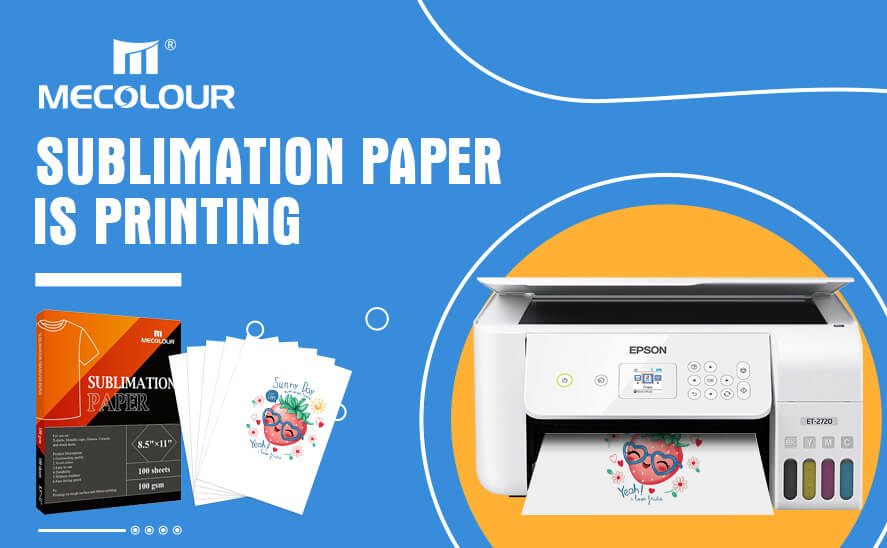
sublimation paper printing
Tip #7: Clean the mug thoroughly before printing
It’s important to clean the mug thoroughly before printing to ensure that there is no residue or oil on the surface that could interfere with the transfer process. Use rubbing alcohol and a lint-free cloth to clean the surface of the mug before printing. There is a post about How to clean a Sublimation Mug, hope it can help you.
Tip #8: Use the right settings on your heat press
Using the correct settings on your heat press is crucial for achieving the best possible results. Be sure to follow the manufacturer’s instructions for your specific heat press and adjust the temperature and pressure settings as needed based on the size and shape of the mug.
Tip #9: Create a mock-up before printing
Before printing the design onto the mug, create a mock-up using a graphic design software. This will help you to visualize how the final product will look and make any necessary adjustments to the design before printing.
Tip #10: Use a heat-resistant tape to secure the transfer paper
Using heat-resistant tape to secure the transfer paper to the mug can help to prevent shifting during the transfer process and ensure that the image is transferred smoothly and evenly.
Tip #11: Test the design on a scrap mug before printing the final product
It’s always a good idea to test the design on a scrap mug before printing the final product. This will give you a chance to adjust the settings and make any necessary changes before printing the final product.
Tip #12: Use a heat-resistant mat
Using a heat-resistant mat underneath the mug can help to protect your work surface and prevent any accidental damage or burning. This can also help to prevent the mug from shifting during the transfer process.
Tip #13: Use a heat-resistant glove
Using a heat-resistant glove can help to protect your hands from burns during the transfer process. This is especially important when handling hot mugs directly out of the heat press.
Tip #14: Use high-resolution images
Using high-resolution images can help to ensure that the final product is clear, crisp, and of high quality. Be sure to use images that are at least 300dpi or higher to achieve the best possible results.
Tip #15: Use a timer to track the transfer process
Using a timer can help you keep track of the transfer process and ensure that the mug is not overcooked or undercooked. This can also help to prevent any accidental damage or burning.
Tip #16: Use a mug press rather than an oven
While it is possible to use an oven for sublimation printing, using a dedicated mug press is often the best option. This can help to ensure even heating and prevent any warping or distortion of the mug.
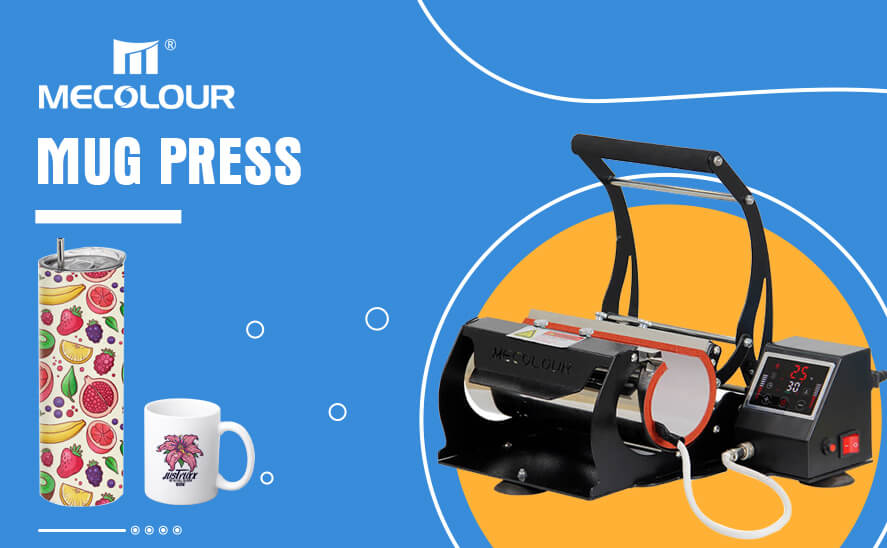
30oz Mug press
Tip #17: Store sublimated mugs properly
To ensure that your sublimated mugs last as long as possible, store them properly. Avoid stacking them on top of each other or exposing them to extreme heat or cold, and keep them in a dry, cool place.
By using these advanced tips and tricks, you can take your mug sublimation printing to the next level and create professional-quality, high-end mugs that are sure to impress. Don’t be afraid to experiment and try new techniques – with practice and patience, you can become a master of mug sublimation printing!