Blog
Mastering Heat Press: T-Shirt Printing Perfection
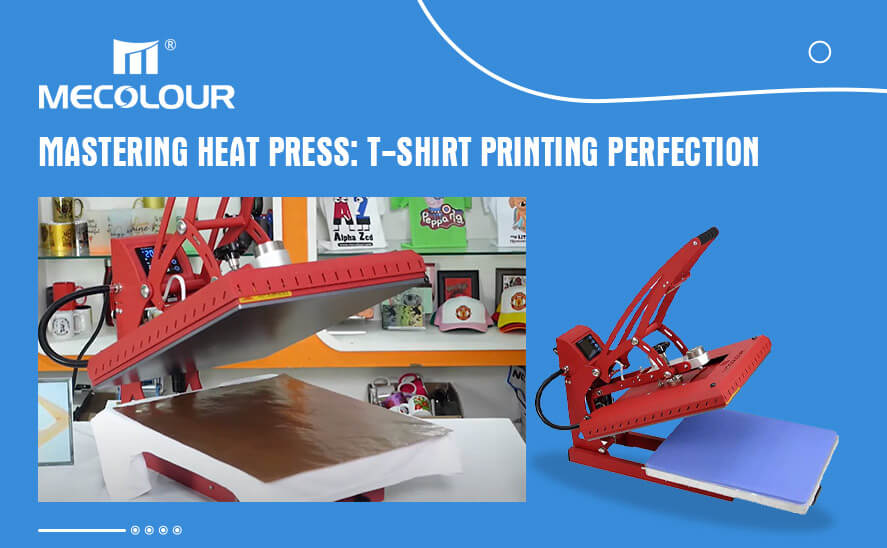
T-shirt printing has become a popular way to express creativity, promote businesses, and even make a fashion statement. One of the most effective methods for printing high-quality designs on t-shirts is through the use of a heat press. Mastering the heat press process is essential to achieve perfection in t-shirt printing. In this article, we will explore the step-by-step process for using a heat press and provide tips for achieving excellent results.
Introduction to Heat Press for T-Shirt Printing
A heat press is a machine that uses heat and pressure to transfer designs onto various surfaces, including t-shirts. It consists of a heated plate or platen and a lower plate, which are pressed together to apply heat and pressure to the t-shirt and the transfer material. The transfer material, often in the form of transfer vinyl, transfer paper or DTF film and more other materials, contains the design that will be transferred onto the t-shirt.
Step-by-Step Process for Using a Heat Press
To achieve perfection in t-shirt printing using a heat press, it is important to follow a systematic process. There are many types of transfer materials, Here we take heat transfer vinyl as an example. Here are the steps involved:
Step 1: Choosing the Right Heat Transfer Vinyl (HTV)
The success of your t-shirt printing project starts with selecting the right heat transfer vinyl for your design. Consider factors such as color, finish, and compatibility with the fabric you plan to print on. Each type of HTV has its unique properties, so be sure to choose one that suits your specific requirements.
Step 2: Preparing the Design and Cutting the HTV
Once you have selected your HTV, it’s time to prepare your design and cut the vinyl. Design your artwork using graphic design software or choose from pre-made designs available online. Ensure that your design is correctly sized and positioned on the cutting mat. Use a vinyl cutter or plotter to cut the HTV according to your design.
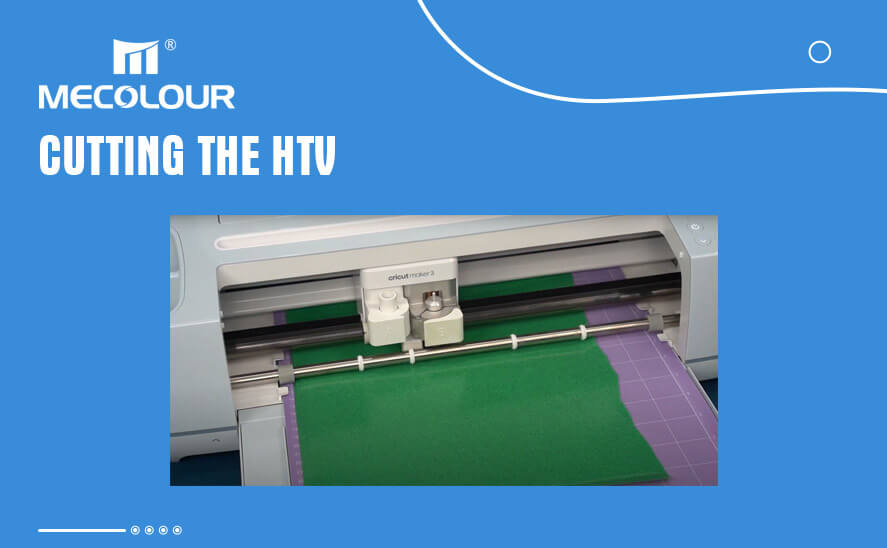
Cutting the HTV
Step 3: Preparing the T-Shirt and Heat Press
Before applying the HTV, make sure your t-shirt is clean and free from any wrinkles or debris. Pre-press your garment using a heat press to remove any moisture and wrinkles. Set the temperature and pressure according to the manufacturer’s recommendations for the specific type of HTV you are using. Allow the heat press to reach the desired temperature.
Step 4: Applying the HTV to the T-Shirt
Place your cut HTV design on the pre-heated t-shirt in the desired position. Ensure that the design is aligned correctly and centered. Carefully cover the HTV with a Teflon sheet or parchment paper to protect it from direct contact with the heat press. Close the heat press and apply the recommended pressure for the specified duration. Once the time is up, open the heat press and remove the Teflon sheet.
Step 5: Curing and Finishing the Print
After removing the Teflon sheet, peel off the carrier sheet from the HTV while it is still warm. This process is known as “hot peeling.” If you are using a cold peel HTV, wait for the design to cool down before peeling off the carrier sheet. Once the carrier sheet is removed, place a silicone sheet or Teflon sheet over the design and press it again for a few seconds. This step helps to ensure a long-lasting and durable print.
how to use mecolour heat press transfer on tshirt?
Tips for Achieving Perfection in T-Shirt Printing
To master the heat press process and achieve perfection in t-shirt printing, consider the following tips:
1. Practice and Experiment
Mastering t-shirt printing with a heat press requires practice and experimentation. Start with simpler designs and gradually progress to more complex ones. Pay attention to the temperature and pressure settings recommended by the HTV manufacturer. Proper heat and pressure are crucial for achieving a successful transfer.
Use a heat-resistant tape to secure your design in place before pressing. This prevents the design from shifting during the transfer process.
2. Choose High-Quality Materials
Using high-quality transfer materials, t-shirts, and heat press equipment will significantly impact the final results. Invest in reputable brands and materials that are known for their durability and ability to hold vibrant colors.

High-Quality Materials
3. Proper Maintenance of the Heat Press
Regularly clean and maintain your heat press machine to ensure its optimal performance. Follow the manufacturer’s instructions for cleaning the platen and other components. Regular maintenance will help prevent any residue or debris from affecting the transfer quality.
4. Test Prints
Before printing a large batch of t-shirts, it is advisable to do a test print. This allows you to verify the design quality, color accuracy, and durability of the transfer. Adjustments can be made if necessary before proceeding with the full production.
5.Quality Control
Inspect each printed t-shirt carefully after the transfer process. Look for any imperfections, such as fading, peeling, or misalignment. Remove any defective prints and ensure that only high-quality products are delivered to your customers.
With these tips and a solid understanding of the heat press process, you can master t-shirt printing and achieve perfection in your designs.
Related:
What kind of transfer equipment is suitable for T-shirt printing?
10 Tips: DIY T-Shirt Printing with a Press Machine