Blog
10 Tips: DIY T-Shirt Printing with a Press Machine
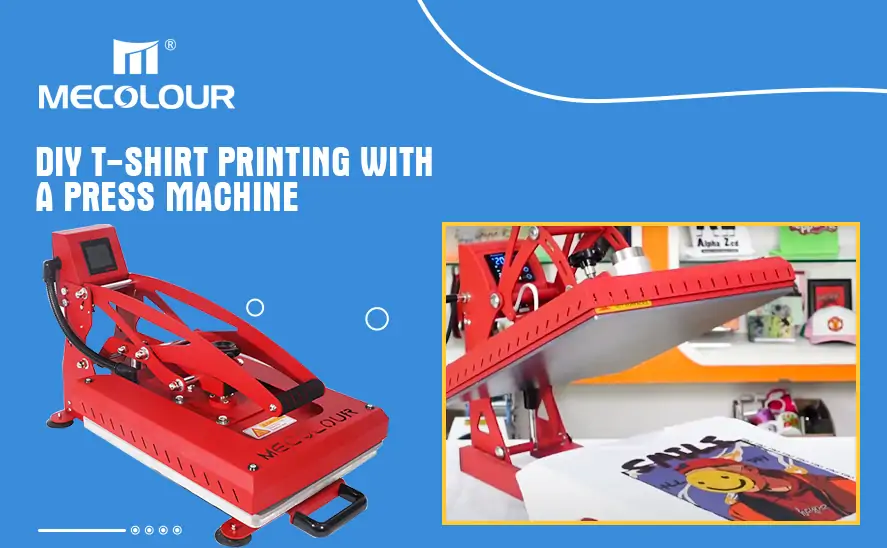
Welcome to MECOLOUR! In this post, we will share some valuable tips and tricks for DIY t-shirt printing using a press machine. Whether you’re a seasoned pro or just starting out, these tips will help you achieve professional-looking results and ensure a smooth printing process. So, let’s dive in and explore the world of DIY t-shirt printing!
Why Choose a Press Machine?
Using a heat press machine for t-shirt printing offers several advantages. First and foremost, it provides consistent and even heat distribution, which is crucial for achieving high-quality prints. Additionally, a heat press machine allows you to control the pressure applied to the fabric, ensuring that the design adheres properly without damaging the shirt.
Tip 1. Choose the Right Transfer Paper and Ink
Before you begin, it’s important to choose the right transfer paper and ink for your project. There are different types of transfer papers available, including light-colored and dark-colored transfer papers. Light-colored transfer papers are suitable for light-colored t-shirts, while dark-colored transfer papers are designed for dark-colored fabrics. Make sure to select the appropriate transfer paper based on the color of the t-shirt you’ll be using. Additionally, use high-quality heat transfer ink that is compatible with your transfer paper for the best results.
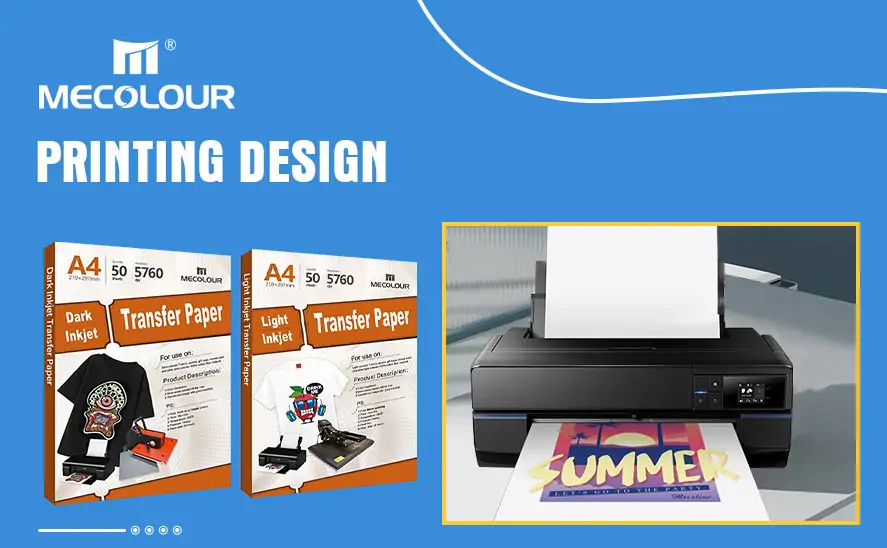
Printing design
Tip 2. Prepare Your Design
Before printing, you’ll need to prepare your design. Use graphic design software or online tools to create or customize your design according to your preferences. Make sure your design is in a high-resolution format and has a transparent background. This will ensure that the design transfers onto the t-shirt accurately and looks sharp. Keep in mind that the design will be mirrored when transferred onto the t-shirt, so make any necessary adjustments before printing. Also, ensure that your design fits within the dimensions of your transfer paper.
Tip 3: Test Print on Scrap Fabric
To avoid any mishaps on your final t-shirts, it’s always a good idea to do a test print on scrap fabric. This will allow you to check the colors, positioning, and overall quality of the print before moving on to the actual t-shirts. It’s better to make any necessary adjustments or corrections on scrap fabric rather than ruining your finished products.
Tip 4. Set Up Your Press Machine
Properly setting up your press machine is crucial for successful t-shirt printing. Each type of transfer paper and fabric requires specific temperature and time settings for optimal results. Consult the instructions provided by the transfer paper manufacturer to determine the correct temperature and time for your particular materials. It’s crucial to follow these guidelines closely to avoid under or overcooking the design, which can affect its durability.
How To Use Mecolour Auto-open Heat Press Machine with Slide-out Drawer?
Tip 5. Pre-Press Your T-Shirt
Before applying the design, pre-press your t-shirt to remove any wrinkles or moisture. Place the t-shirt on the press machine and apply heat and pressure for a few seconds. This step helps to create a smooth surface for transferring the design and ensures better adhesion.
Tip 6. Position and Transfer the Design
Now it’s time to position and transfer your design onto the t-shirt. Place the transfer paper with the design facing downwards (or facing upwards) onto the desired location of the t-shirt. Make sure it is centered and aligned correctly. Lower the heat press machine and apply the recommended heat and pressure settings for the specified duration mentioned in the transfer paper instructions. Once the transfer is complete, carefully remove the transfer paper.
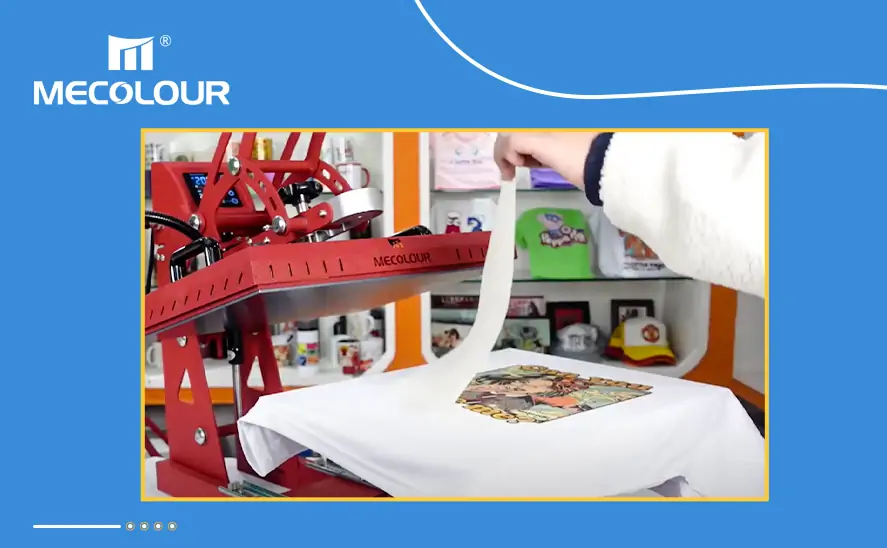
transfer design on tshirt
Tip 7: Use Proper Pressure
Applying the right amount of pressure is crucial for a successful t-shirt print. Too little pressure may result in a design that doesn’t adhere properly, while too much pressure can damage the fabric or distort the design. Adjust the pressure on your press machine according to the manufacturer’s instructions and conduct test prints to ensure the best results.
Tip 8: Peel Hot or Cold?
After the heat transfer process, you will need to peel off the transfer paper from the t-shirt. Depending on the type of transfer paper you’re using, this can be done either while the shirt is still hot or after it has cooled down. Follow the instructions provided by the transfer paper manufacturer to determine the correct peeling method for your specific paper.
Tip 9: Wash and Care Instructions
To ensure that your DIY printed t-shirts last as long as possible, it’s essential to follow the proper washing and care instructions. Typically, it’s recommended to wash the t-shirts inside out in cold water and avoid using harsh detergents or bleach. Hang them to dry or use a low-heat setting on your dryer to prevent the design from fading or cracking.
Tip 10: Practice Makes Perfect
Like any skill, DIY t-shirt printing with a press machine requires practice. Don’t get discouraged if your first few prints don’t turn out as expected. Experiment with different designs, colors, and techniques to refine your skills. With time and practice, you’ll gain confidence and be able to produce professional-looking t-shirts.
DIY t-shirt printing using a printing press is a fun and rewarding way to add a personal touch to your wardrobe or create custom t-shirts for various occasions. By following these tips and doing some practice, you’ll be able to create high-quality prints that you can be proud to wear or share with others.
Related:
Why Invest in a High-Quality T-Shirt Press Machine
Where to buy the best heat press machine for clothes?
Is heat press machine good for t-shirts?