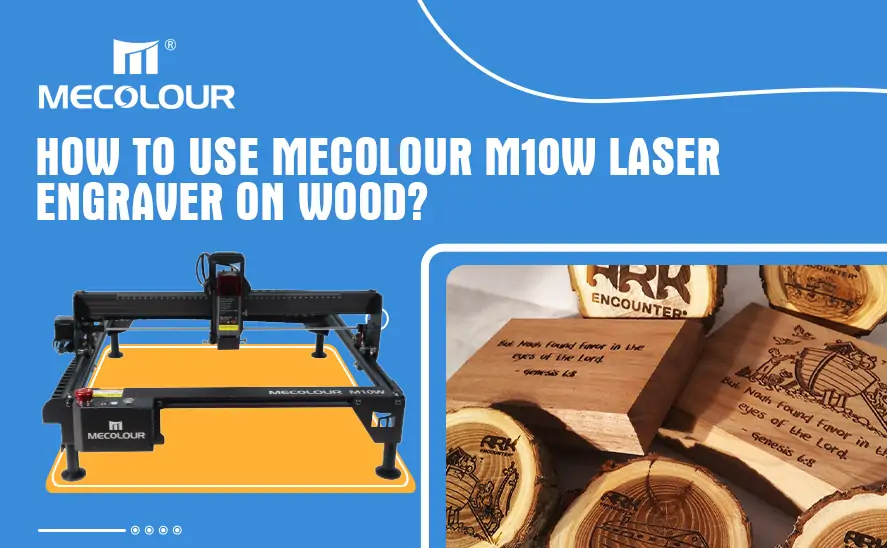
MecolourM10W laser engraving machine is a versatile and user-friendly laser engraving machine designed for a variety of applications including engraving wood, plastic, paper, leather, bamboo, sponge paper, alumina, stainless steel, V-shaped, acrylic, glass etc.
Our M10W laser engraving machine is very popular in the DIY arts and crafts industry, especially in America and Latin America market. It has earned a good reputation. In this article we will introduce how to apply M10W laser engraver to wood.
To use M10W laser engraver on wood, please follow these steps:
Prepare the wood: Start by selecting a suitable piece of wood for engraving. Ensure that the wood is clean, flat, and free from any coatings or finishes. Sand the surface if necessary to create a smooth and even surface for engraving.
Set up M10W laser engraver: Place the engraver on a stable surface and ensure that it is connected to a power source. Make sure all safety precautions are in place, such as wearing protective goggles and ensuring proper ventilation in the workspace.
Prepare the design: Create or import the design you want to engrave onto the wood. You can use graphic design software like Adobe Illustrator or CorelDRAW to create vector-based designs. Ensure that the design is properly sized and positioned within the engraving area.
Configure the engraver settings: Use the control panel or software provided with the Mecolour M10W to adjust the engraving settings. This includes selecting the appropriate laser power, speed, and resolution for the desired engraving effect. Consult the user manual for specific instructions on adjusting these settings.
Focus the laser: The Mecolour M10W laser engraver allows you to adjust the focal length of the laser. Follow the instructions provided by Mecolour manufacturer to focus the laser on the wood surface. This step is crucial for achieving precise and clear engraving results.
Position the wood: Place the wood piece securely on the engraving bed of the Mecolour M10W. Ensure that it is properly aligned with the engraving area and that it won’t move during the engraving process. You may need to use clamps or other securing methods to hold the wood in place.
Start the engraving process: Double-check all the settings and safety measures before starting the engraving process. Once you are ready, initiate the engraving process using the control panel or software provided with the Mecolour M10W. Monitor the process closely to ensure that the engraving is progressing as desired.
Finishing touches: Once the engraving is complete, carefully remove the wood from the engraving bed. Clean off any residual debris or dust from the engraved area. Depending on your preference, you can leave the engraving as it is or apply a finish or coating to enhance its appearance and durability.
Remember to always follow the manufacturer’s instructions and safety guidelines when using the Mecolour M10W laser engraver equipment. It’s also a good idea to practice on scrap wood before working on your final project to familiarize yourself with the engraver’s capabilities and settings.