

Blog
How to Make Perler Bead Patterns with Heat Press Tools

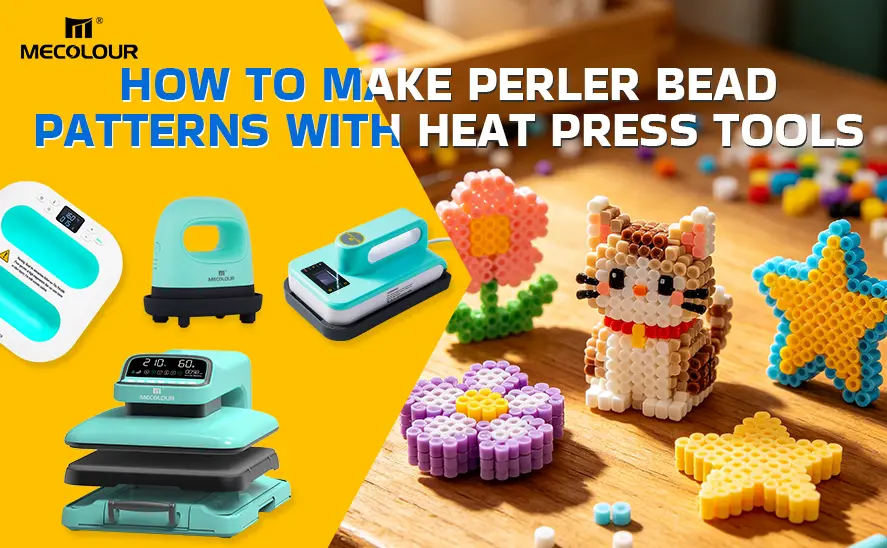
Creating Perler bead (fuse bead) designs is one of the most engaging DIY crafts for both beginners and professionals. From pixel-style artwork to custom keychains and home décor, the process is simple—but achieving perfect fusion without melting or warping requires the right technique and the right heat tools.
In this guide, we will walk you through how to make Perler bead patterns step by step, while also recommending the most suitable tools including mini iron heat press, 5×7 heat presses, 9×9 presses, and professional 38×38cm electric heat press machines to elevate your results.
What Are Perler Beads and Why Heat Matters
Perler beads are small plastic beads arranged on pegboards to form patterns. When heat is applied, the beads soften and fuse together, creating a solid design.
The key to success lies in:
- Even heat distribution
- Controlled temperature
- Consistent pressure
Traditional irons often fail because they produce uneven heat, which can lead to warped or partially fused designs.
Step-by-Step: How to Make Perler Bead Designs
Step 1: Choose or Create Your Pattern
Start by selecting a design:
- Pixel art (popular for beginners)
- Cartoon characters
- Logos or custom text
You can design your own or use templates.
Step 2: Arrange the Beads
Place beads carefully on a pegboard:
- Keep spacing tight
- Avoid gaps or overlaps
- Use tweezers for precision
Step 3: Cover with Ironing Paper
Place parchment paper or ironing paper over your beads to protect them during heating.
Step 4: Apply Heat (Critical Step)
This is where the right tool makes a huge difference.
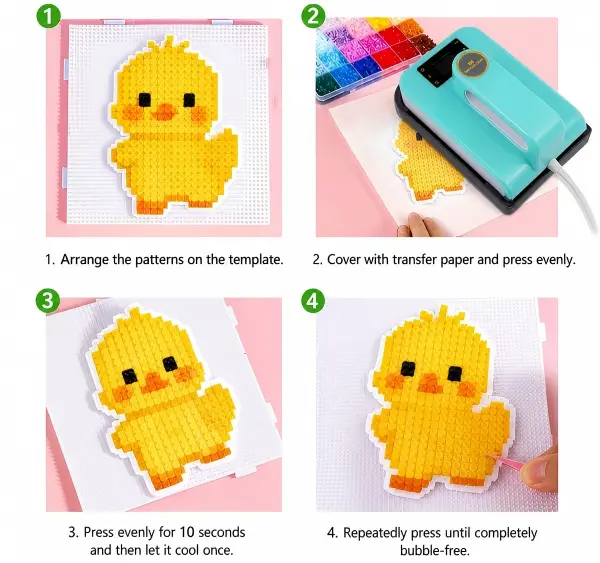
how to make perler bead with 5×7 iron press
Best Tool for Small Designs
Mini Heat Press
Compact and precise mini press ideal for small Perler bead designs and detailed work.
- Perfect for tiny patterns and edges
- Provides better control than a household iron
- Ideal for kids and beginners
💡 Real crafting experience shows mini presses provide more controlled and even heating compared to standard irons, especially for small bead projects.
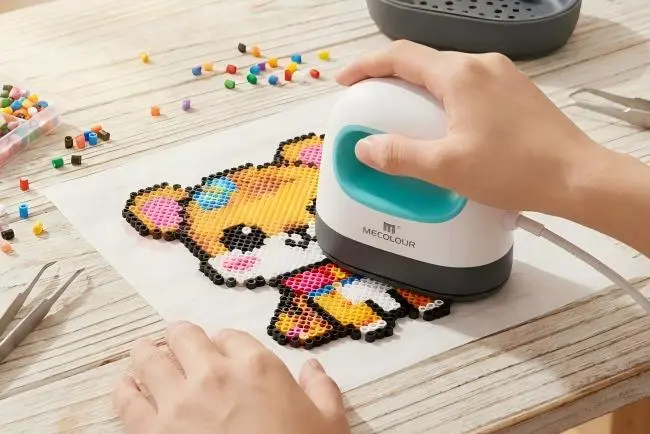
make perler bead with mini iron press
Best Tool for Medium Designs
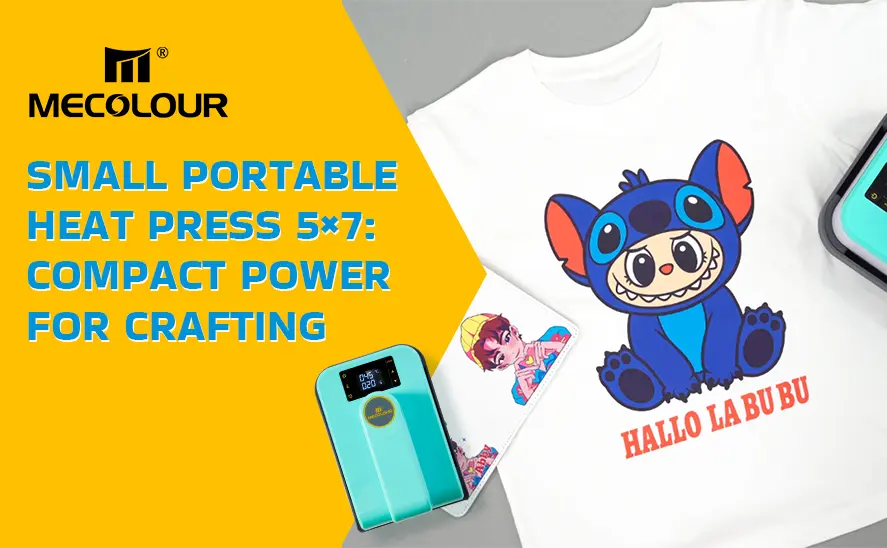
Portable 7×5 Heat Press Machine
Balanced size for medium Perler bead projects with even heat coverage and portability.
- Covers larger sections in fewer passes
- Reduces risk of uneven melting
- Ideal for coasters, small wall art
Best Tool for Versatile DIY
A 9×9 heat press is the most recommended all-around option.
- Even heat up to 400°F (205°C)
- Suitable for T-shirts, crafts, and bead art
- Covers most standard Perler bead boards
✔ Best for:
- Medium to large patterns
- Consistent, professional results
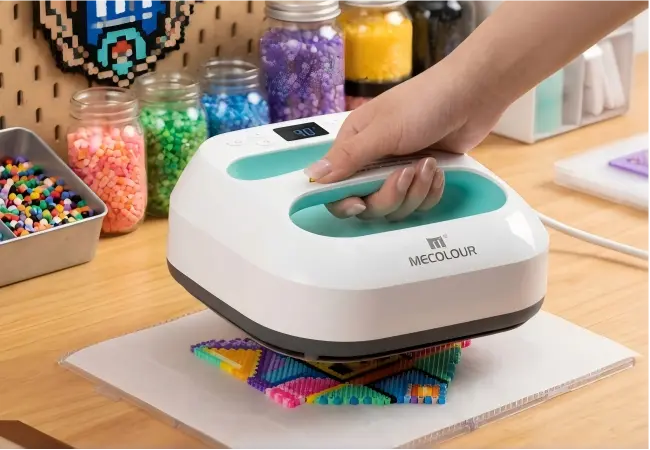
Make Perler Bead using 9×9 iron heat press
Best Tool for Large or Batch Production
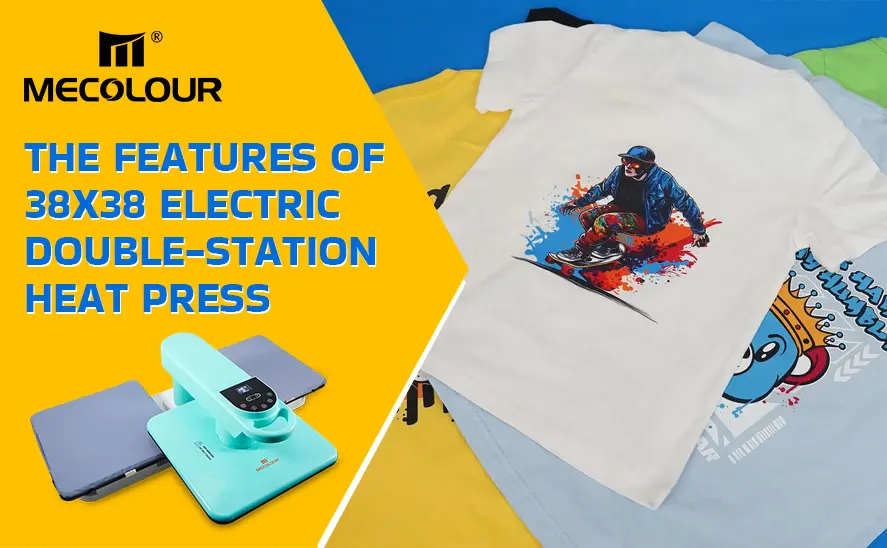
Electric Heat Press Machine 38x38cm
- Industrial-level pressure + temperature control
- Ideal for bulk production or large artwork
- Ensures perfect fusion across the entire design
✔ Best for:
- Selling Perler bead products
- Large wall art or panels
- Professional studios
Step 5: Apply Even Pressure
- Press down evenly
- Avoid moving the press too much
- Heat for 10–20 seconds per section
Step 6: Let It Cool
Allow the design to cool completely before removing from the pegboard.
Step 7: Flip and Repeat (Optional)
For stronger results:
- Flip the design
- Heat the other side lightly
Tool Comparison for Perler Bead Projects
| Tool Type | Best For | Heat Control | Efficiency | Skill Level |
|---|---|---|---|---|
| Mini Heat Press | Small designs | Medium | Low | Beginner |
| 5×7 Heat Press | Medium crafts | High | Medium | Beginner–Intermediate |
| 9×9 Heat Press | Most projects | Very High | High | All levels |
| 38×38cm Electric Press | Large/bulk | Professional | Very High | Advanced |
Why Heat Press Machines Are Better Than Regular Irons
Using a dedicated heat press provides:
- Uniform heat distribution
- Stable temperature control
- Better fusion consistency
- Reduced risk of overheating
Crafters consistently note that standard irons can cause uneven melting and shifting, while heat presses offer far more control.
Pro Tips for Perfect Perler Bead Results
- Use medium heat (around 180–200°C / 356–392°F)
- Always use parchment paper
- Avoid overheating—beads should melt slightly, not flatten completely
- Work in sections for large designs
- Clean your heat plate regularly
Best Setup Recommendation
- Hobby / Kids Crafts: Mini heat press
- DIY Sellers / Etsy Shops: 9×9 heat press
- Advanced Creators / Bulk Production: 38×38cm electric press
Making Perler bead designs is simple—but mastering the process requires precision heat control and the right equipment.
With the right setup, you can create clean, durable, and professional-looking bead art every time—whether for fun or for business.
Related:
Small vs Large Heat Press: Which One Should You Choose?
Small Portable Heat Press 5×7: Compact Power for Crafting
Easy Press 9×9 and Mini Iron Press, which is Best for Your Needs?