

Blog
How to Get the Best Results from an Automatic Mug Press


Getting consistent results from a sublimation mug press requires more than selecting the correct temperature and pressing time. The quality of the sublimation mug, transfer paper, ink, artwork, pressure, and mug positioning can all affect the final result.
For users working with an automatic mug press, the most effective approach is to establish a repeatable workflow and test the complete combination of materials before starting production.
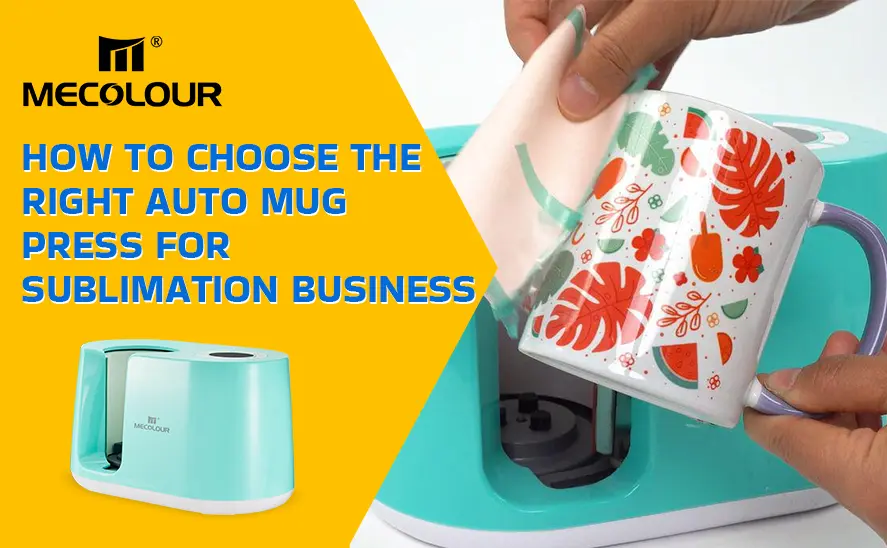
The Mecolour Automatic Mug Press is designed for 11–15oz straight-wall mugs with a compatible diameter of approximately 8.2–8.5 cm. It provides an adjustable temperature range of 100–220°C and a time range of 0–230 seconds, allowing users to test different sublimation transfer conditions.
What You Need Before Starting Sublimation Mug Printing
Before beginning, prepare the complete sublimation setup:
- Automatic mug press
- Sublimation printer
- Sublimation ink
- Sublimation paper
- Sublimation-coated mug
- Heat-resistant tape
- Design software
- Heat-resistant gloves
The quality of the final mug depends on how well these components work together.
A high-quality automatic mug press cannot compensate for an unsuitable mug coating, poor sublimation ink, or incorrectly printed transfer paper.
How to Prepare Your Artwork
Start by creating artwork that matches the printable area of the mug.
Pay attention to:
- Image dimensions
- Resolution
- Text size
- Logo placement
- Color management
- Printable area
For most sublimation mug applications, mirror the artwork before printing. This is particularly important when the design contains text, names, logos, or directional graphics.
High-resolution artwork is also recommended for designs containing small text, fine lines, photographs, and detailed illustrations.
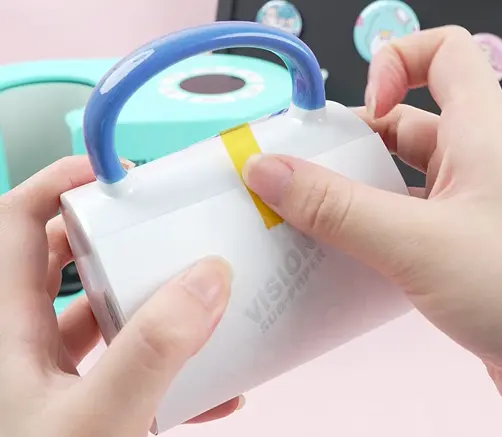
wrap Sublimation Mug
How to Prepare the Sublimation Mug
Use a mug with a dedicated sublimation coating.
Before pressing:
- Inspect the mug for scratches or coating defects.
- Remove dust and fingerprints.
- Make sure the surface is completely dry.
- Check the mug diameter.
- Confirm that the mug fits the press.
The Mecolour 11-15oz Automatic Mug Press is designed for 11–15oz straight-wall mugs with a compatible diameter of approximately 8.2–8.5 cm.
This means that mug capacity alone should not be used to determine compatibility. Two mugs can both be labeled 11oz but have different diameters and shapes.
How to Position the Design
Correct positioning is important for professional-looking personalized mugs.
Place the printed transfer against the coated surface and align the artwork carefully.
For consistent production, keep the following points in mind:
- Center the main design.
- Keep important text away from the handle.
- Maintain consistent margins.
- Avoid wrinkles in the transfer paper.
- Secure the transfer firmly with heat-resistant tape.
The transfer should remain stable throughout the heating process.
Movement during pressing is one of the common causes of ghosting and blurred images.
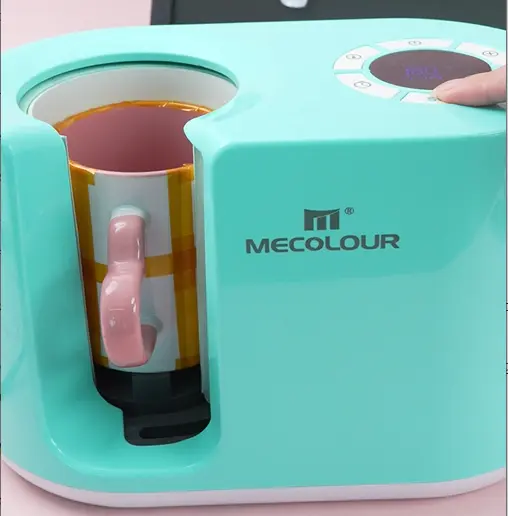
Sublimation Mug Printing
How to Set Sublimation Temperature and Time
There is no single temperature and time combination that works for every sublimation mug.
The correct settings depend on:
- Mug coating
- Sublimation ink
- Sublimation paper
- Printer
- Mug diameter
- Heating system
- Pressure
- Transfer design
The Mecolour 11-15oz Automatic Mug Press provides a 100–220°C temperature range and 0–230-second time range, giving users flexibility when testing different mug blanks and transfer materials.
The recommended approach is:
Start with the mug manufacturer’s recommended settings → produce a test mug → inspect the result → adjust one variable at a time.
Avoid changing temperature, time, paper, ink, and mug simultaneously because this makes troubleshooting much more difficult.
How to Create a Sublimation Mug Test Profile
For commercial production, testing should be systematic.
Create several test mugs using controlled changes.
| Test | Temperature | Time | Purpose |
|---|---|---|---|
| A | Manufacturer recommendation | Manufacturer recommendation | Baseline |
| B | Slightly higher | Same | Compare color density |
| C | Same | Slightly longer | Compare transfer quality |
| D | Slightly lower | Same | Compare image appearance |
Record the results.
Evaluate:
- Color density
- Image sharpness
- Edge definition
- Transfer completeness
- Ghosting
- Uneven areas
- Surface quality
Once the best result is identified, document the settings for that specific mug blank.
This creates a repeatable sublimation production profile.
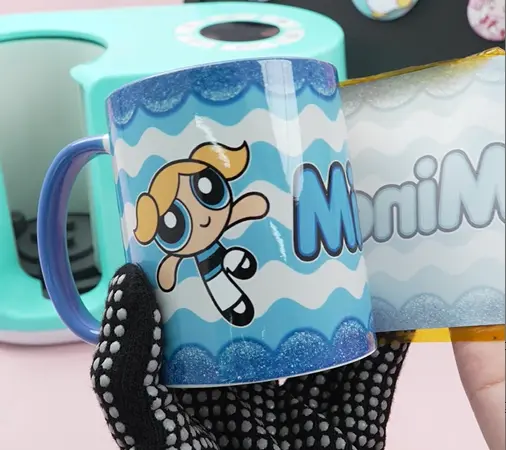
sublimation results
Common Sublimation Mug Problems
Faded Colors
Possible causes include:
- Incorrect transfer conditions
- Poor sublimation ink
- Unsuitable mug coating
- Incorrect printer settings
Check the entire production system before changing the press settings.
Ghosting
Ghosting appears as a secondary or blurred image around the original design.
A common cause is movement of the transfer paper during heating.
Solution: Secure the paper firmly with heat-resistant tape and avoid moving the mug during pressing.
Uneven Image Quality
Uneven results can be caused by:
- Poor contact
- Incorrect mug diameter
- Uneven heating
- Coating defects
- Incorrect positioning
Check whether the mug fits the heating area correctly and whether the transfer maintains consistent contact.
White or Missing Areas
Possible causes include:
- Wrinkles
- Poor contact
- Dust or contamination
- Incomplete transfer
- Coating defects
Make sure the mug is clean and the transfer paper is smooth and properly secured.
Blurry Images
Blurry results can occur when:
- The transfer moves
- The paper contains excess moisture
- The original print quality is poor
- Transfer conditions are unsuitable
Keep the transfer stable and maintain consistent printing and pressing conditions.
How to Improve Sublimation Mug Production
For businesses producing multiple mugs, consistency is more important than simply pressing faster.
Use Consistent Mug Blanks
Different coatings can produce different results.
Standardize Artwork
Create templates for common mug sizes and designs.
Document Successful Settings
Record the tested temperature and time for each mug supplier and model.
Standardize Positioning
Use a positioning guide for repeat orders.
Inspect the First Mug
Before starting a large batch, produce and inspect one test mug.
This approach can reduce wasted mugs, sublimation paper, ink, and production time.
Final Checklist
Before starting production, check:
- Compatible mug
- Correct mug diameter
- Clean surface
- Correct artwork size
- Mirrored design
- Correct sublimation paper
- Correct sublimation ink
- Transfer securely attached
- Tested temperature
- Tested time
- Correct mug positioning
For users looking for a machine designed for standard 11–15oz straight-wall mugs, explore the 11-15oz Automatic Mug Press for product specifications and application information.
Related:
11oz Auto Mug Press Machine: Complete Guide for Custom Mug
Automatic Mug Press Machine:Revolutionizing Mug Printing
Selecting the Right Mug Press for Your Needs