Blog
How to Use a 4 in 1 Heat Press: Step-by-Step Guide
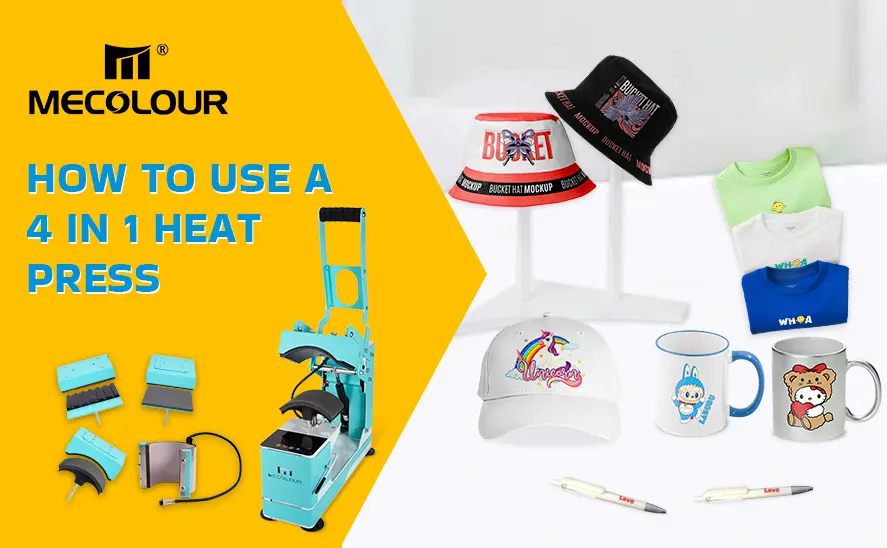
A 4 in 1 heat press machine is one of the most versatile tools for crafting, personalization, and small business production. With just one compact machine, you can create custom mugs, caps, pens, labels, t-shirts, canvas bags, and more. Each attachment is designed to handle a different substrate, allowing you to expand your creative potential while producing professional-quality results.
In this guide, we will cover the step-by-step process for using all four attachments of a 4 in 1 heat press machine. Follow along to master each application with detailed settings, tips, and expert advice.
Understanding Mecolour 4 in 1 Heat Press Machine
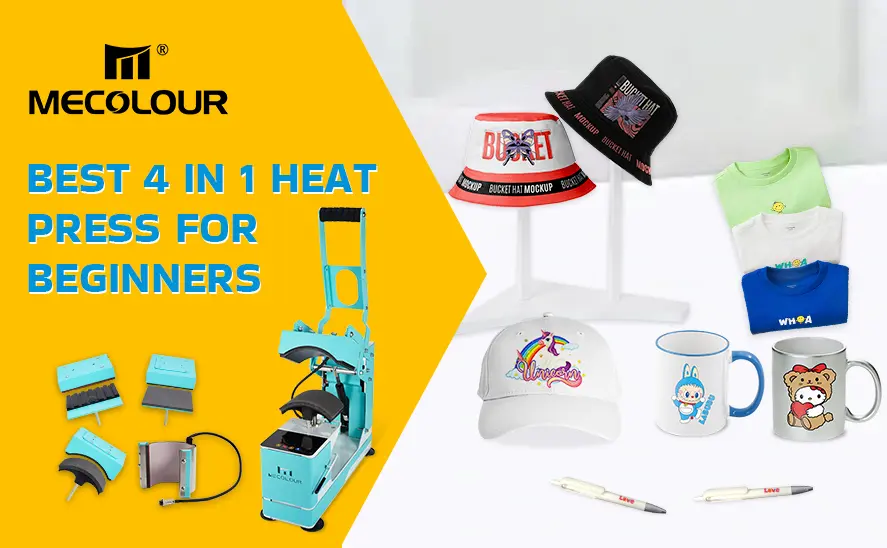
Before diving into the applications, it’s important to familiarize yourself with the machine’s features. A typical 4 in 1 heat press includes:
- Cap Heat Press Attachment – Designed with a curved heating surface to fit hats and caps.
- Label/Flat Heat Press Attachment – Perfect for small, flat surfaces such as canvas bags, t-shirts, labels, or patches.
- Pen Heat Press Attachment – A cylindrical clamp that customizes pens, pencils, and slim cylindrical objects.
- Mug Heat Press Attachment – Specifically designed for ceramic mugs, water bottles, and other drinkware.
Each attachment comes with its own temperature and time requirements depending on the material and transfer method you use, such as heat transfer vinyl, sublimation paper, or screen print transfers.
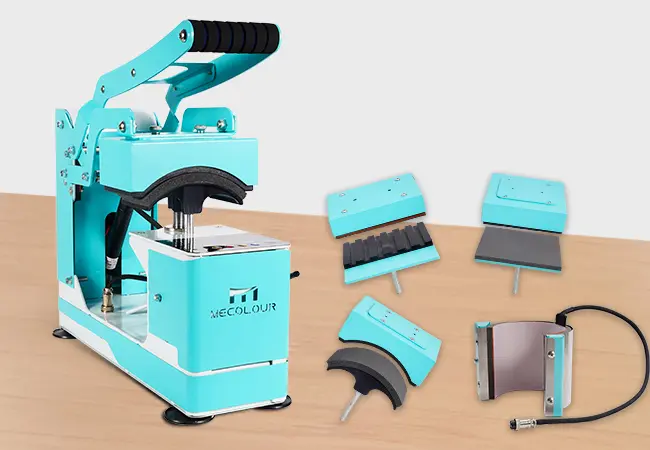
4 in 1 heat press attachment
Application of the 4 in 1 heat press machine
1. How to Use the Cap Heat Press: Customizing Caps
Caps are a popular personalized product for sports teams, promotional giveaways, fashion, and branding. The curved surface of a cap requires a specialized press to ensure even heat and pressure distribution.
Step-by-Step Process:
- Select your design and prepare it on HTV or sublimation paper.
- Position the cap securely onto the curved platen, making sure it is firmly stretched to avoid wrinkles.
- Place your transfer face-down on the cap where you want the design.
- Set the temperature to 320°F (160°C) and adjust the timer to 30 seconds.
- Pull down the handle to apply firm pressure.
- Once time is complete, lift the handle and carefully peel the film according to your vinyl type (warm or cold peel).
Pro Tip: Use a heat-resistant foam pad under the cap for an even press, especially if the cap has thick seams or stitching.
2. How to Use the Label Heat Press: Decorating Canvas Bags & Labels
The label heat press attachment works for small flat items such as canvas bags, t-shirt labels, patches, and fabric logos. It is ideal for branding products with logos or adding creative designs to accessories.
Step-by-Step Process:
- Prepare your design with HTV, sublimation paper, or printable transfer sheets.
- Position the item flat on the heat press, making sure the transfer area is smooth.
- Place the design in the desired spot and align carefully.
- Set the press to 330°F (165°C) with a timer of 15 seconds.
- Apply firm pressure by closing the press.
- After pressing, peel away the backing sheet based on the vinyl requirements (warm or cold peel).
Pro Tip: For canvas or thick fabrics, pre-press the area for 5 seconds to remove moisture and wrinkles before applying your transfer.
3. How to Use the Pen Heat Press: Personalizing Pens
The pen heat press attachment is excellent for creating customized pens for corporate branding, gifts, schools, or promotional events. Unlike flat presses, this attachment uses a cylindrical heating element to wrap around the pen.
Step-by-Step Process:
- Print your design on sublimation paper, cut it into a strip, and wrap it around the pen.
- Secure the transfer with heat-resistant tape to prevent shifting.
- Insert the pen into the holder and clamp it tightly.
- Set the machine to 360°F (182°C) and time to 60 seconds.
- Once pressing is complete, carefully remove the tape and paper.
Pro Tip: Always use polymer-coated pens that are compatible with sublimation to ensure the design adheres properly.
4. How to Use the Mug Heat Press: Creating Custom Mugs
Mugs are one of the most popular sublimation products for businesses and gift shops. The mug press attachment allows you to create permanent, vibrant, dishwasher-safe designs.
Step-by-Step Process:
- Print your sublimation design using a sublimation printer and ink.
- Wrap the design around the mug, aligning it carefully, and secure it with heat-resistant tape.
- Insert the mug into the press attachment and adjust for a snug fit.
- Set the machine to 385°F (195°C) with a timer of 180 seconds.
- Press down the handle to begin the transfer.
- Once finished, carefully remove the mug (using heat-resistant gloves) and peel off the paper.
Pro Tip: Preheat the mug press for 2–3 minutes before inserting your mug to maintain consistent heat throughout the transfer.
4-in-1 Hat Heat Press Printing Tutorial
Maintenance Tips for Your 4 in 1 Heat Press Machine
To keep your machine performing at its best, follow these maintenance practices:
- Clean the heating platen regularly with a soft cloth to prevent residue buildup.
- Check pressure adjustments before each use to ensure even transfers.
- Store attachments in a dry, dust-free area to extend their lifespan.
- Use only compatible substrates (sublimation-coated mugs, caps, pens, etc.) for best results.
- Perform a test press with scrap material whenever adjusting settings for new materials.
Common Mistakes to Avoid
When learning how to use a 4 in 1 heat press, beginners often make errors that affect the quality of transfers. Here’s what to avoid:
- Incorrect temperature or time settings – Always follow material guidelines.
- Insufficient pressure – Leads to incomplete transfers.
- Design misalignment – Use alignment guides or rulers to position correctly.
- Using incompatible materials – Ensure mugs, caps, and pens are coated for sublimation.
A 4 in 1 heat press machine is a powerful and versatile investment for creating custom products with professional results.
Whether you’re starting a custom printing business or simply enjoy DIY crafting, by mastering each attachment — caps, labels, pens, and mugs — you can produce high-quality personalized items for business, gifts, or personal projects.
Related:
Best 4 in 1 Heat Press for Beginners: Top Picks and Buying Tips
The Best Cap Heat Press Machine for Your Business


